Showing posts with label nursery. Show all posts

Tuesday, April 10, 2018

Sewing for Baby: Booties, Bibs, and Blankets


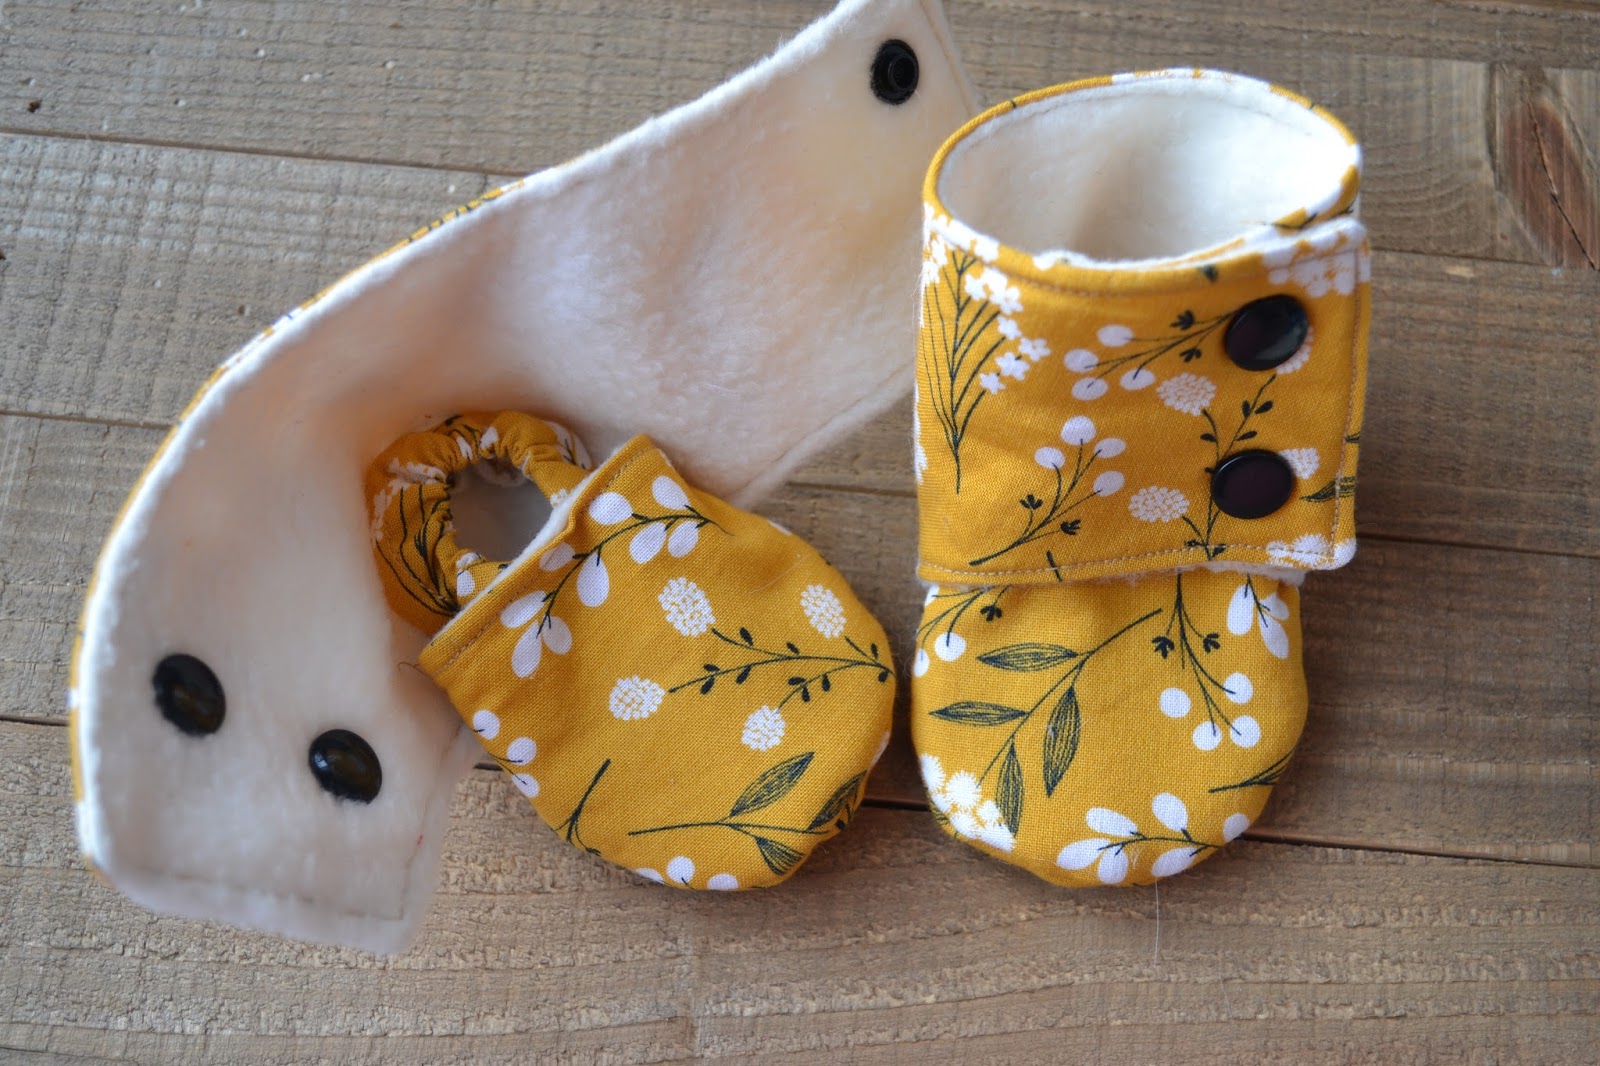
Man life has been busy.  It seems that I can only manage a post or 2 every month.  I've been busy with many projects lately but I haven't had much time for blogging about them!  Today I've managed to find some time to write another post in the Sewing for Baby series that I started back when my oldest daughter was a baby.  I have not one but three fun sewing projects to share with you today!  First up is my favorite thing to make lately: baby booties and shoes.  The pattern that I used for all of the examples in today's post is Maggie's Stay-on Baby Booties by Beautiful Pie Shop.  I've had this pattern for a long time but never tried it until a friend wanted some stay on type shoes for her daughter.  

I made my first pair for her using gray fleece and flannel lining.  I love this pattern so much.  It is easy to follow and they are really fun to make.  Plus they really do stay on!  I love them for my youngest because socks never stay on her feet and she is always pulling her carseat cover off of her feet.  I no longer worry about her little feet freezing!  I love making them so much that I now carry them in my Etsy shop The Petite Seam.  They can even be made without the cuff which you will see in a few of the photos below.


And here is my sweet baby girl modeling them in her 5 month photos (she is over 6 months now!)

 The next project is one that I have yet to make more of but I plan to make a lot more of them.  I hope to list them as a new item in my Etsy shop soon but so far I've only made one as a gift for a friend.


I used this tutorial for rounded pom pom bibs from the blog Life on Waller.  I didn't follow the tutorial to a T however because I hate hand stitching so left a small opening, flipped it right side out, then topstitched the entire bib.  I think topstitching makes it look more finished anyway.  The blog also has a tutorial for a fringe bib which I'm going to try next.

My final (or maybe not *wink wink*) project for today's post is a taggy blanket.
This little blanket was so easy to make.  I found some wooden teethers on Amazon but there are also some great ones on Etsy.  I cut a piece of cotton fabric and a piece of minky 17" by 17".  Then I cut a bunch of different pieces of ribbon about 4" each (it was around 32 pieces).  Just make sure you use ribbons with varying textures to make it interesting for baby to play with.   I wish I would of taken a picture of this step but I just folded each piece of ribbon in half and pinned the ends of the ribbon pieces to the right side of the cotton fabric.  For the wooden teether I just cut a slightly longer piece of ribbon and tied it around the teether and pinned that ribbon to one of the corners of the cotton fabric. Then I pinned the cotton and minky right sides together.  I sewed around the edge with a 3/8 inch seam allowance making sure to leave a roughly 2 inch opening. Then I flipped the blanket right side out, pressed, and pinned the opening shut.  Finally I topstitched around the entire blanket.
The watercolor blanket was a part of a baby gift for a friend but I also made one for my baby to go in her Easter basket.  I forgot to take a picture after it was done.  If you look closely you can see the pins in this one because it still needs to be topstiched.  Also that pacifier clip will be a future blog post :).

Finally I have a few more things to share with you that kept me busy at my sewing machine in February.  You may remember that I recovered the glider cushions in my daughter Lyla's nursery (I'm using the same glider in Ana's room now).  You can read more about that here.  Recently my friend asked me to make slipcovers for the glider in her daughter's nursery.  I love how this glider turned out.  The cushions before were a light green.


 I also made a few changing pad covers for her.  You can read more about those in this other Sewing for Baby series post.

Also how amazing is that mid mod dresser that they painted teal!

This isn't all that I've been busy with of course.  I have also been working on a couple of more sewing projects related to cloth diapers that I will share in a future post that will also include an update on our cloth diapering experience.  As far as home improvement projects go I've taken my focus downstairs with our family room and my sewing studio getting paint jobs and some other exciting projects in the sewing studio which I will give you a hint at in this picture.
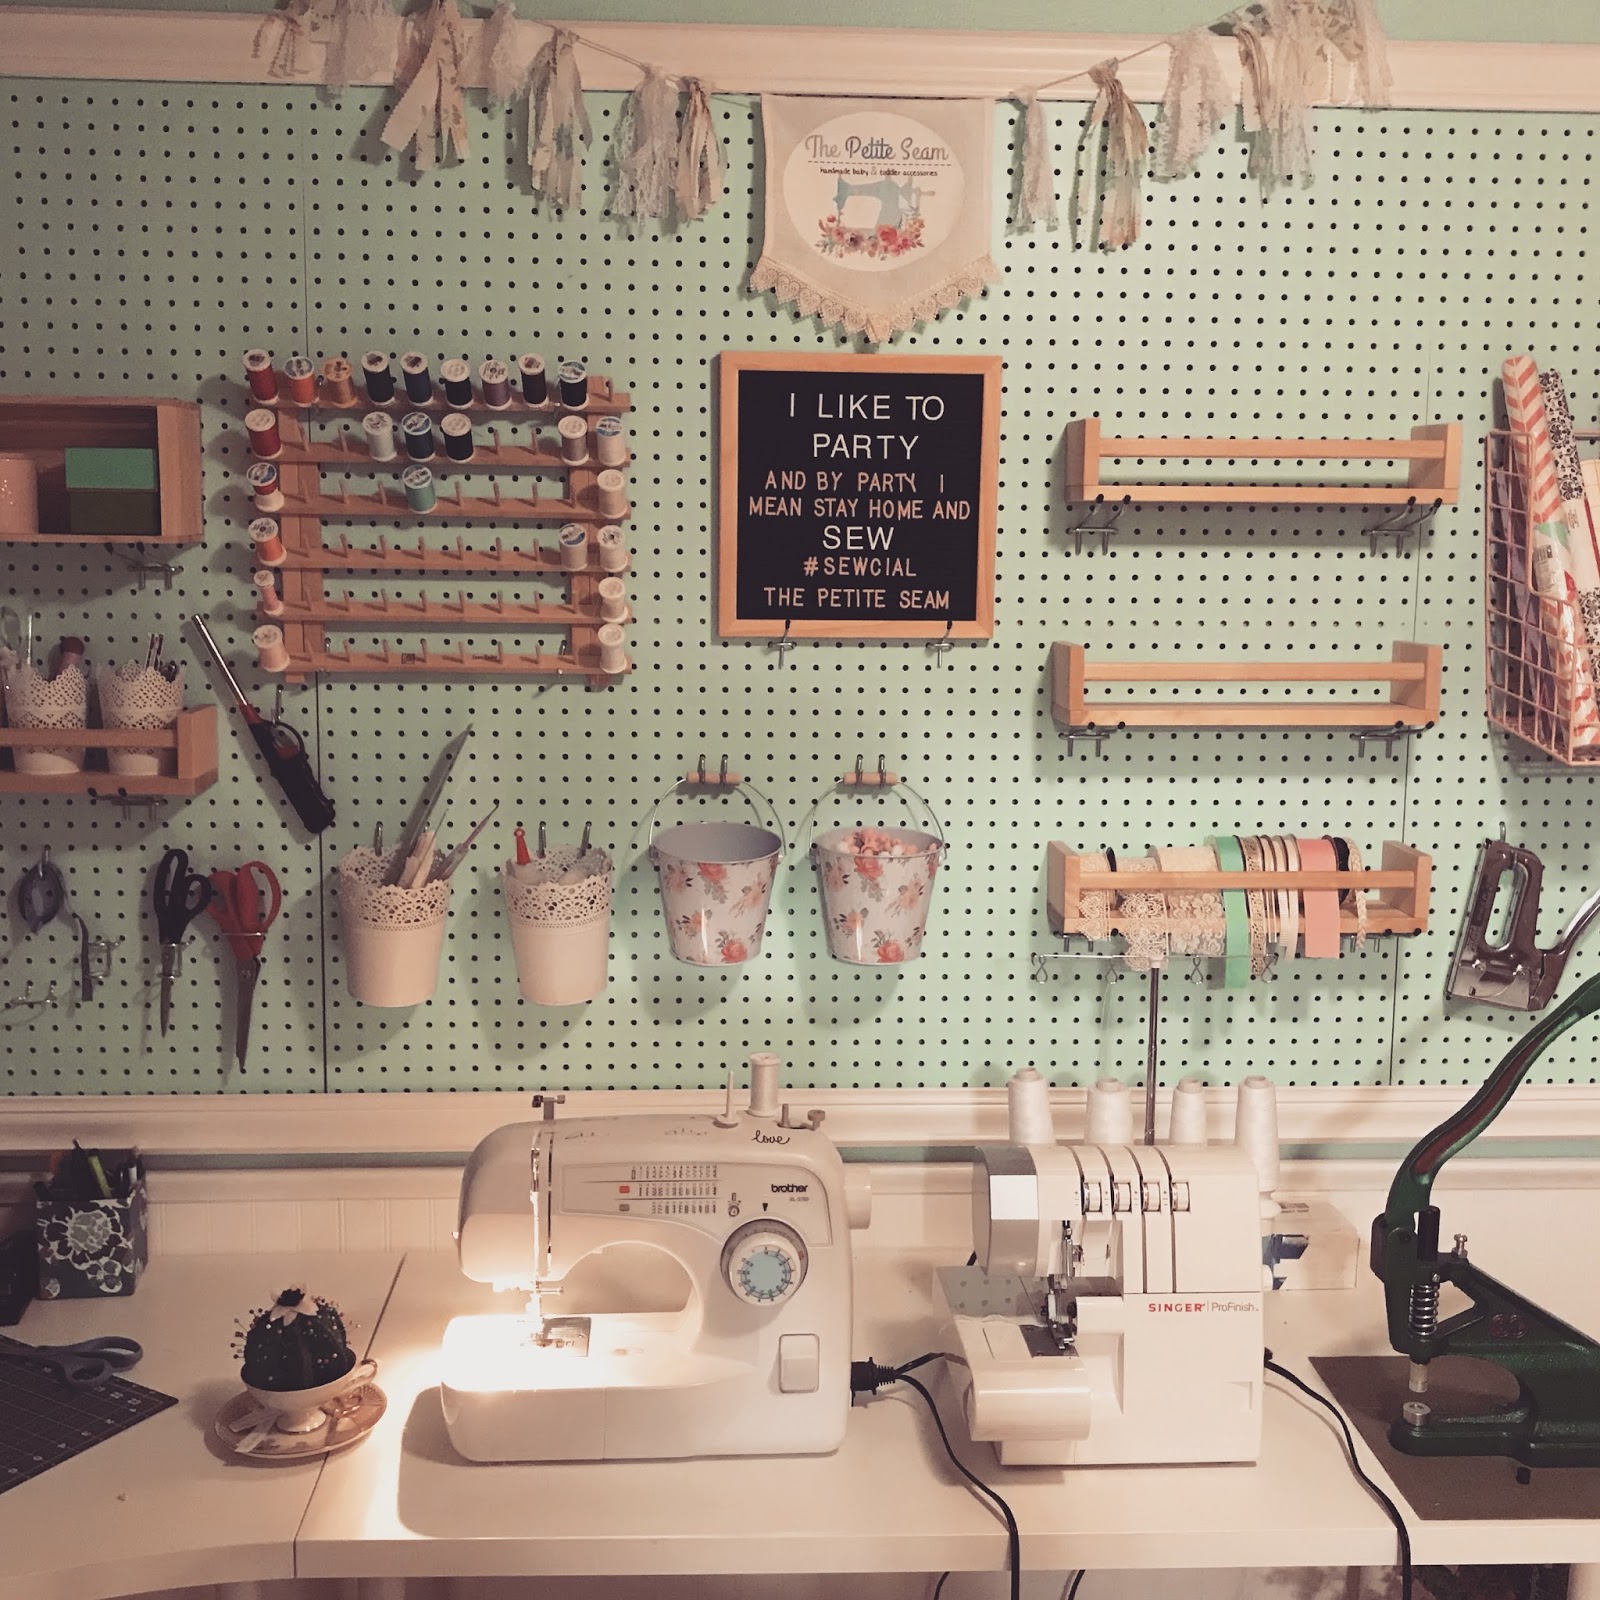
I will give you a tutorial on how to make that cute cactus teacup pincushion that you see next to my sewing machine in my next post!


Monday, November 13, 2017

Floral Number Monthly Baby Photos

 My little baby Ana turned 6 weeks this past Friday!  How is time going so fast!  Today I wanted to share with you a post on her monthly baby pictures.


For Lyla's monthly baby photos I found a vintage suitcase, some pretty fabric, a blanket (which now hangs out on the futon in our family room), and made a bunting with her name on it.  You can read more about her monthly baby photos here and here.  You can read about how I made the bunting here.
Above is a composite of all of her monthly photos from her baby book. The setup went with her vintage travel nursery theme.
Oh my goodness, she looks so different now!


She is definitely a little girl instead of a baby now.  It is so crazy!

I wanted Ana's monthly photos to also go with her nursery theme so I decided to make the number of each month out of flowers.  This was such a simple project that there isn't really that much to explain.
I waited for fake floral to be on sale at Hobby Lobby.  I gathered up quite a few stems with shades of pink and white flowers.  I made sure to select some that had some nice leaves as well.  Then I trimmed all of the floral heads and some of the leaves off of the stems.  I laid out an off white textured throw that I found at Target in front of the large window in her room.  It lets in a fantastic light that is perfect for pictures.  Then I arranged the flowers into a number 1.  That was all I had to do folks!  It was so simple and they turned out beautifully.  It will be see fun to see her grow next to these lovely floral numbers!
Seriously the light in her room is so gorgeous!  I also had an adorable model as well.  She isn't always a cooperative model though.  I added bandana bibs to my Etsy shop, The Petite Seam and she was  not amused when I tried to have her model one of the bibs.
Thankfully she fell asleep shortly after this and I got some sweet photos.
Seriously that light!

I am so excited for the next post on this blog.  I have been working on a big fireplace makeover in our living room over the past couple of weeks and it should finally be done by the end of this week or the beginning of next week.  Here is a little sneak peak:
Keep checking back so you don't miss the post on this stunning makeover!

Tuesday, September 26, 2017

Baby A's Nursery Reveal


The day that I blogged about Lyla's finished nursery was the day that my water broke and labor started.  Since I'm getting a little impatient here's hoping that posting about baby girl A's nursery will do the same.  So without further ado here is her nursery:


I am absolutely in love with this room.  My vision of floral and lace came together in this room even better than I had imagined it.  You can read about how I made the floral and lace chandelier here and you can read about the floral letter and the lace frame art here.  So much of the rest of this room was made possible by Target.  Target is hands down my favorite place to shop (and no Target is in no way paying me to say this but if they would like to I won't turn it down *wink wink).  The crib sheet and ruffled crib skirt are both from their new Cloud Island nursery collection.  Surprisingly that crib skirt had some not so great reviews online.  Most of the negative reviews were centered around the fact that it was really wrinkled coming out of the packaging.  There is a simple solution to that though.  I just threw it in the dryer with a wet towel and it came out perfect!  And $25 compared to $80 for comparable crib skirts was such a steal!

I cannot tell you how much I love this crib.  I love the vintage look which is why I picked a classic Jenny Lind style crib for Lyla's room.  For this room I wanted a metal crib but most of them are ridiculously expensive.  This crib from Little Seeds is affordable and I love the color.  I bought mine at Wayfair but I just got an email from Target today that they are carrying Little Seeds products now. You can find the crib here.


You can read about the vintage doily art that I made for above the dresser here.  This dresser is tied with the crib for my favorite piece of furniture in the room.  I found it on Craigslist after months of looking and here is what it looked like when we got it.
I liked the gray but it was too close to the color of the wall so it needed to be painted white.  It is such a gorgeous vintage piece!  I used the same baskets mounted to the wall that was used in Lyla's room at the old house and you can read more about it here.  I found the tray to hold diapers and other things that we need while using the changing pad at HomeGoods.  I made another changing pad cover using extra fabric from the roller shade project and gray dot minky.  You can read more about how to make the changing pad covers here. That toy basket in the corner is from Target from the Pillowfort collection.


Those gorgeous lace curtains are from Target from the Shabby Chic collection.  I found two of the panels on clearance in store.  The other 2 were bought online and I had kind of a funny experience with them.  Instead of receiving the curtains I receive a package full of bras but the packing slip said it was the curtains.  I had to jump through some hoops to get the curtains but it ended up to be a blessing because they actually went on sale which I wouldn't of known about had I received the right order the first time.  You can read more about how I covered the roller shades in fabric here.  I found the curtain rods at Wayfair.  That rocker was thrift store find that I recovered for Lyla's nursery and you can read more about that project here.

The lamb was a gift from the previous homeowners.  I found the pillow and that beautiful lamp at HomeGoods.  The bookshelf was a clearance item from Target.


I found these gorgeous prints on Etsy.  The child of God and Alice in Wonderland printables came from the shop Adoren Studio.  The middle print came from the shop MINTable Printables and it is a quote from a Mumford and Sons song.  I found the simple white frames at Target for $3 a piece.


I found this picture ledge and the hooks at Target.  The pictures in the frames are of baby A's namesake.  There will be more on that once she is here and we officially announce her name.  The Alice and Wonderland print was actually on our porch at our old house but I thought is fit in well here.

Well that's it!  I love this room and I hope you love it too and are inspired by it.  I can't wait until baby A is finally here!


Related Posts Plugin for WordPress, Blogger...