Thursday, February 12, 2015

Slipcovered Glider for the Nursery

This post is shared on That DIY Party 

At the end of my last post I told you that I had gotten a start over the weekend on recovering the glider for the nursery.  I had also said that it would probably be a long time before I posted because the project would take me a while because it was complicated.  I am happy to report that it was not nearly as complicated as I thought it would be and I actually finished the project on Tuesday night!
I bought this glider several years ago for $20 at a thrift store.  Other than some ugly and stained cushions it is in perfect condition.  It took a lot of will power to leave it as is for so long so as soon as my 1st trimester fatigue was gone, I was ready to get started on this thing.  I scoured the blogosphere for tutorials on how to recover gliders and finally decided on this excellent tutorial from a blog called Runs With Spatulas.
I am not going to include detailed pictures of the process in this post so you will have to use her tutorial if you want to replicate this project.  I like this tutorial for several reasons.  First of all, it is one of the most detailed sewing tutorials I have ever come across.  Every single step is detailed with pictures and written instructions.
Secondly, every piece is removable so it can be washed.  I was intimidated by all the zipper sewing that goes along with this but because of the detail of the tutorial I was able to successfully and easily install 4 zippers!
I did do a few things differently than the tutorial however.  First of all she made ties to attach her cushions to the back of the chair but I just decided to replicate the velcro straps that were attaching my glider cushions.  I measured the original ones and then used some fabric scraps to make them. Make sure to sew the velcro on opposite sides of the fabric.  I made this mistake once and had to get out my old friend the seam ripper.

Another thing that I did differently than the tutorial was how I covered the ottoman.  She made a cover with elastic that was removable.  I didn't know how well that would stay on while feet were resting on it and rocking so I decided to just staple my fabric on.  I figured that would be the piece that would be the least likely to get dirty anyway.

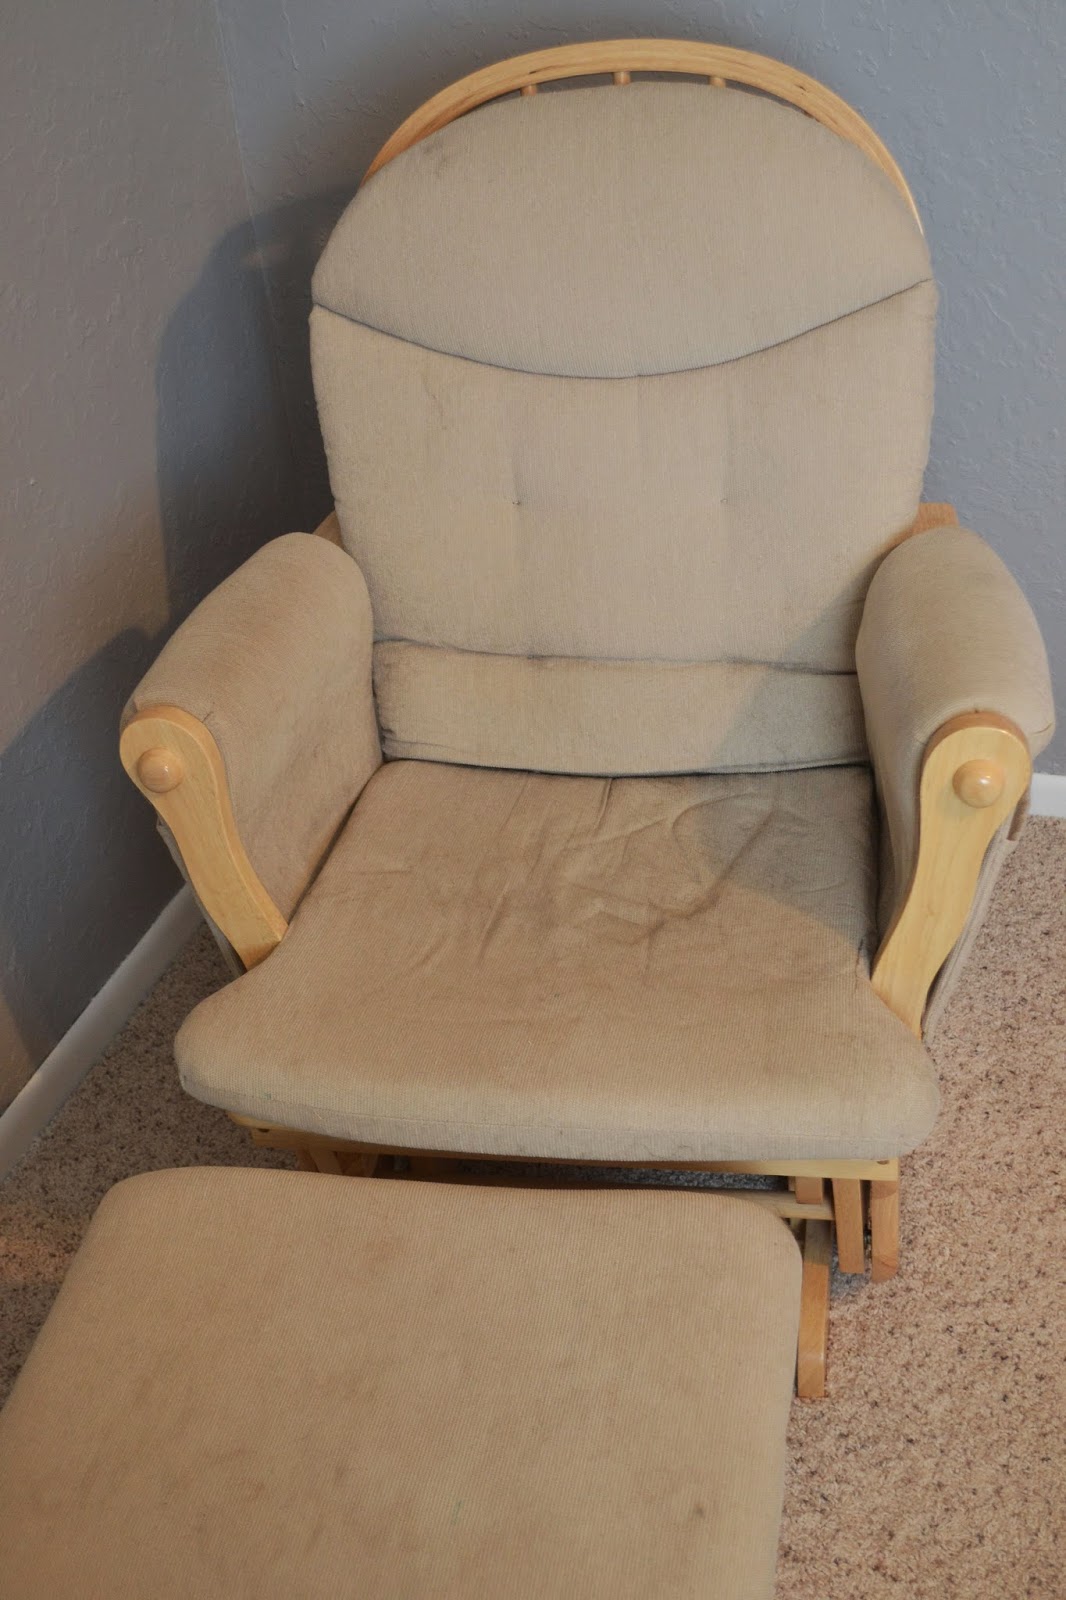
Well I suppose I should get to the big reveal.  Here is a reminder of what I started with:
And here is the glider now:

Here is a cost breakdown for this project:
Glider-$20
4 yards of fabric-$42
Zippers and Thread-$13
So this entire project ended up costing me only $75! Not too shabby.

If you are wondering what color the fabric is, it is in fact navy.  It reads a little black in the photos in the nursery but it definitely looks navy in person.  Also, I found that adorable fox pillow at Homegoods.  Isn't it cute?  I am not sure what project I will be working on next but hopefully I won't make you wait too long for another post!


No comments:

Post a Comment

Related Posts Plugin for WordPress, Blogger...