Wednesday, November 9, 2016

Harry Potter Ringer Onesie


Hello!  I am back today with a quick post on a gift that I made for a baby shower I attended a few weeks ago.  One of the games that was played at the shower was having the mom-to-be guess which onesie each guest brought.  I thought it would be fun to make a onesie.  Normally I would just buy a onesie and then add my own design using my Silhouette Portrait.  This time, however, I thought it was time to try out a tutorial for making a ringer onesie.

I used this free pattern and tutorial from Shwin and Shwin.  This is the same site that I found the Eleanor Dress pattern at from this post.
The pattern was free and the tutorial was pretty easy to follow.  For the fabric I used a heather grey interlock that I found at Joann Fabrics and a white rib knit.  I wanted to use a burgundy rib knit to make it more Harry Potter-esque but I couldn't find a rib knit in that color anywhere.  I used some yellow Kam snaps for the snaps.  The onesie isn't perfect.  I would need to practice a little bit more to get it down.  The biggest flaw in the onesie is in the leg ribbing because I didn't stretch it well enough at the beginning and ended up not being able to quite reach it all the way around.  It isn't a big deal though since you can't really see it.
I used my Silhouette Portrait to create a heat transfer design.  You can read more about creating heat transfer designs in this post and this post and this post.  You can find lots of free Harry Potter inspired fonts online to use for this project.  I used a font called Black Chancery.  For the shoe prints I just did a google image search on shoe prints and then dragged the one I liked into the Silhouette software. I then traced it to make a cut design.  I cut the words out on smooth white heat transfer material and the shoe prints out on silver foil-like heat transfer material (it is actually Cricut brand because that is easy to find in stores around here).

In the pictures you can see my latest set of burp cloths that I made for the momma-to-be as well. Well I hope this post will be an uplifting distraction to you on this very scary day in history!  I will leave you today with the words of a canon that my choir is working on since I feel that we need to hear these simple yet powerful words today:
What a goodly thing 
if the children of the world
could dwell together in peace.

Tuesday, November 1, 2016

Simple Black Cat Costume

Well the plan was to get this post in before the end of October but I missed it by a day.  Oh well! I hope you all had a Happy Halloween!  Today I am here to share the simple Halloween costume that I made for my daughter.  Last year for her first Halloween Lyla was an owl.  You can check out how I made that costume in this post.
Owl Baby Costume

She's just changed a little bit! ;)  This year I decided to dress her as a black cat.  She loves kitties and one of her first "words" was kitty.  I say words in quotations because it was mostly just a "k" sound followed by hissing sound.  Now she can say it so that it sounds more like the actual word. I knew that this would be the perfect costume for her. This costume was so easy to put together and it was cheap!
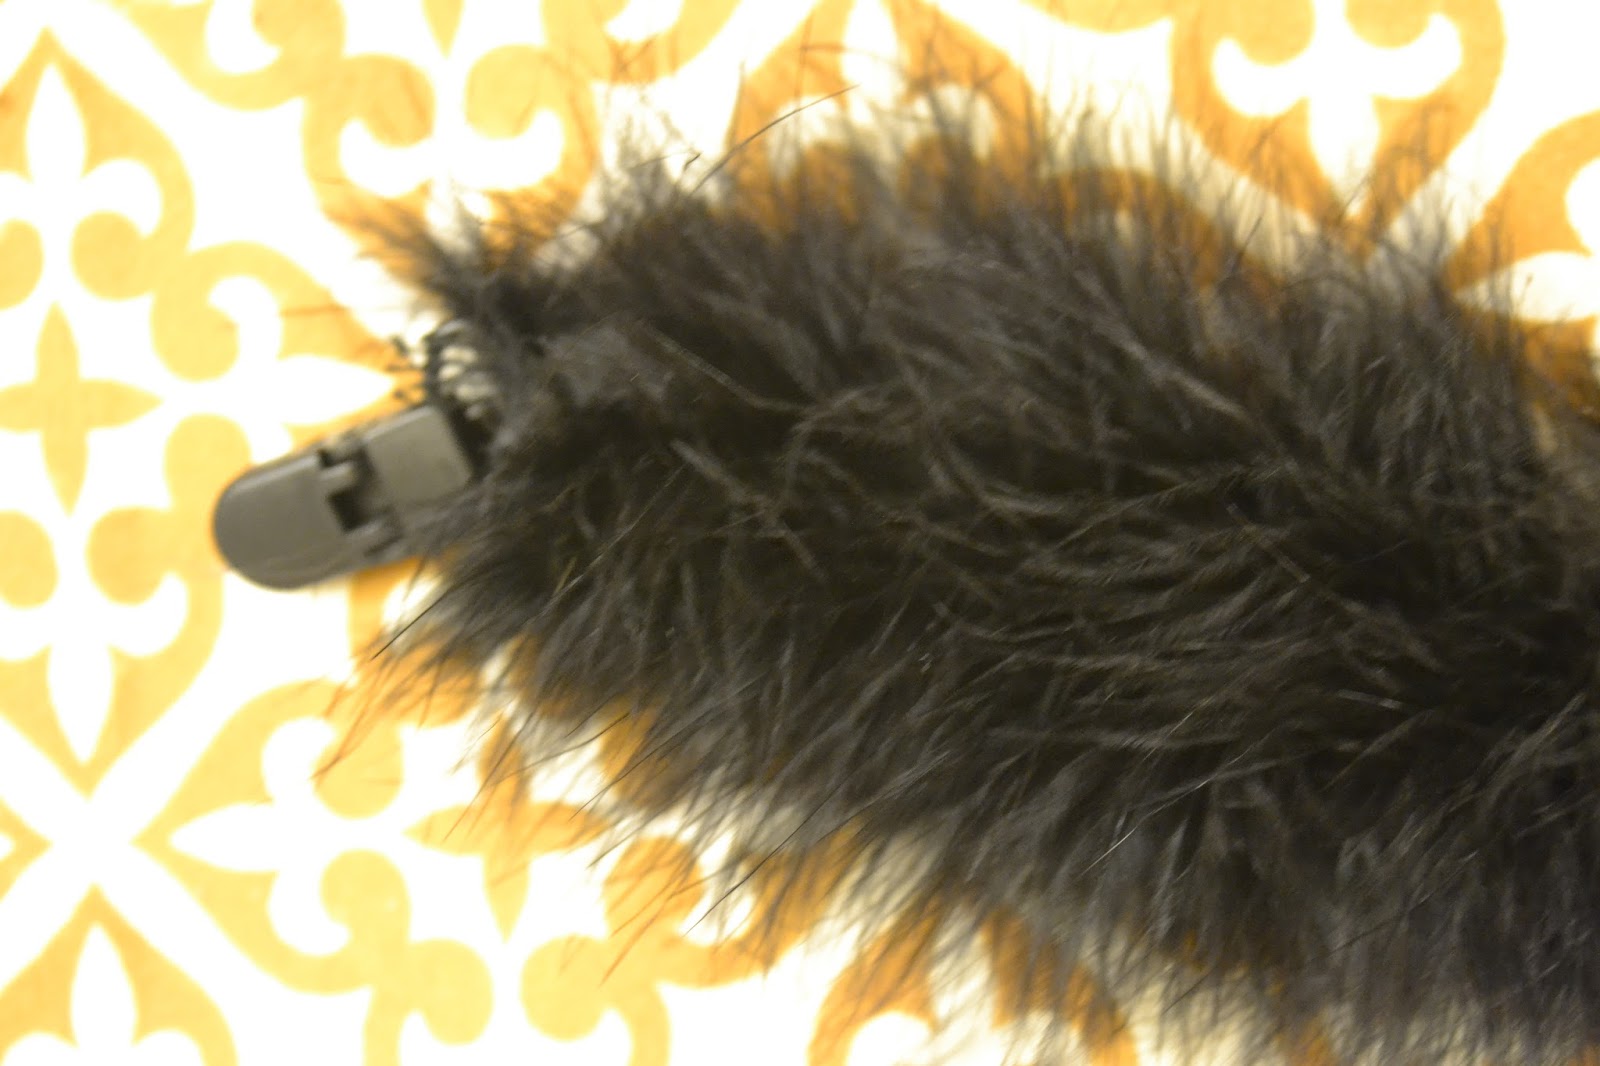
I have the "paws" from her costume in the picture above but I never put them on her because both times that she wore her costume it was unseasonably warm.  I will start with how I made the tail.  The tail was made with a feather boa that I purchased at Joann Fabrics.  I attached it to a Kam pacifier clip which you can purchase here.  I tied it on and then put a dab of hot glue to secure it. I had to cut it of course so that it wouldn't be too long and trip her.  She was just starting to walk when I started making the costume but I knew that by Halloween she would be walking well so it wouldn't get in her way. Here a really blurry picture of the clip attached to the boa, sorry!
The paws were just a simple pair of mittens with extra pieces of boa glued around the wrist part.

I cut the ears out of black felt.  I didn't use a pattern at all, I just eyeballed it.  I used some gold glitter heat transfer material for the middle part of the ears and attached it to the felt using the package directions.

I attached the ears to metal hair clips with hot glue.  I then tied some ribbon that I had on hand into bows and glued them to the ears.
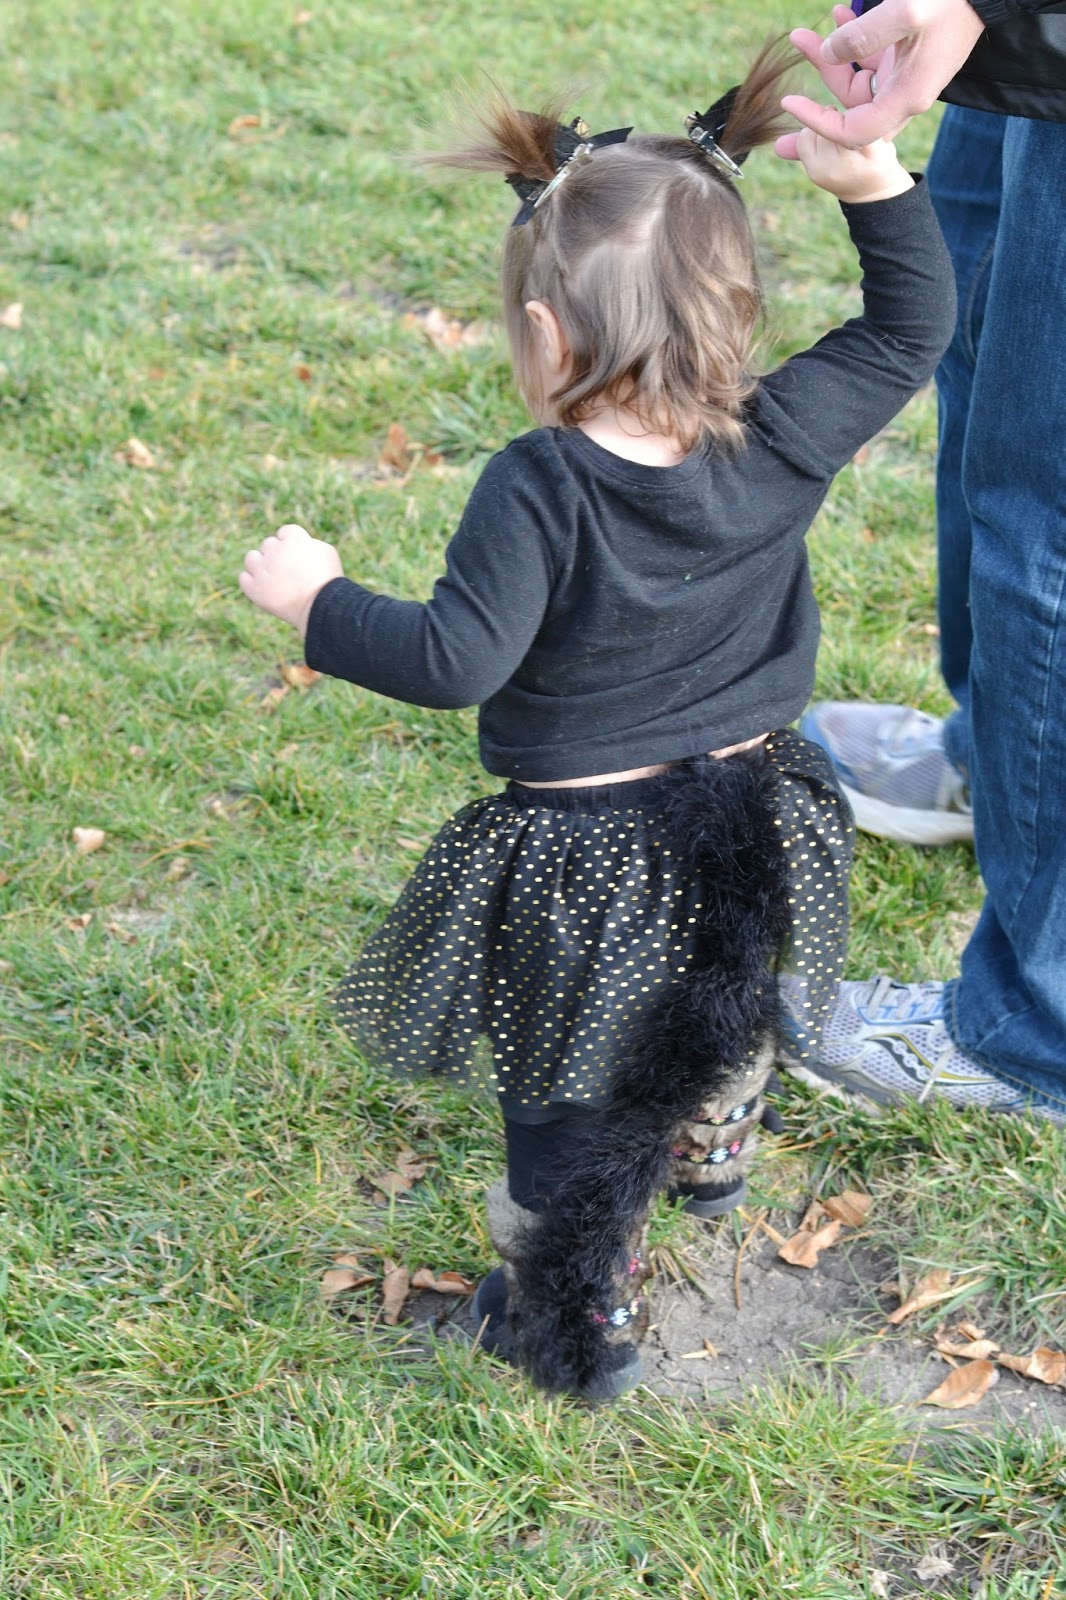
When I dressed her in her costume, I put her hair in pigtails on the top of her head and just clipped the ears to the pigtails.  Super simple and cute.


Her tail was clipped onto to her black leggings.  The rest of her costume consisted of black leggings and a black shirt from Old Navy, this cute skirt from Macy's, and a pair of hand-me-down boots.  The above pictures are from Boo at the Zoo.  The picture at the top of the post is from Halloween and she is wearing a this cute Cat & Jack sweatshirt from Target.  This costume even survived the day at daycare yesterday!  Everybody commented on how cute she looked and I loved that it took me about 15 minutes to put together.  


Saturday, October 29, 2016

Digital Baby Book: Monthly Photo Pages + Custom Stickers


Wow it is almost November already!  I thought I would try to squeeze in a few more October posts in before the end of the month so here is the first of several.  I am back today to share another post on Lyla's baby book.  So far I have shared how to create a custom calendar page and the items that I scanned to files for preservation in the book.
Custom Calendar Page
In today's post I am sharing the monthly photo pages from the book and how to create a custom sticker to use with the Mixbook software.  I have written several posts on Lyla's monthly photo sessions from her first year including this post on the burlap bunting I made for the set, this post on the monthly photos, and this update on how the photos were going at 4 months.  These photos were fun to share on FaceBook each month and also worked well as decor for her 1st birthday party.  But I knew that these photos would shine the most in her baby book.  

Each month I recorded all of the little things that Lyla did and all of the activities she participated in. Some of these things are recorded in the calendar pages but others were used to help me write a letter each month to Lyla.  I loved doing this and I recommend that every expecting mother plan to do something like this for their child.  It is really touching for me to go back and read each letter and I hope that someday it will be meaningful to Lyla as well once she gets to read them herself.  I plan to continue to write one every 3 months up until she turns 2 and and then yearly after that.  It would be fun to include all of the letters in a book that I could give to her at her high school graduation.  


As you can see I made each monthly page have the same format.  I chose to keep these pages clean and simple because I wanted the photos and the letter to be the focus of each monthly page.  I wanted to add a little "handwritten" element to the letters so that is where the creation of the custom stickers comes in.  Here is how I created them:


I opened up my Pixelmator software (you can do this in photoshop or any other photo editing software and I am sure the steps are similar) and selected a blank canvas size.  I just used standard letter size in this example.  I then selected a font and typed my message.  Next I clicked on the background layer in the layers window and hit delete.
Once the background layer is deleted then you will see a checkerboard pattern behind the text.
Now you need to save the document.  When the save menu appears click in the box next to "save a copy as" and then select PNG from the drop down menu.  PNG stands for portable network graphic.
Now open up your project in Mixbook and click on the stickers tab on the left side of the screen and then click on the browse stickers button.
Select the upload stickers tab in the menu that pops up and then click on the orange upload stickers button.  Find your file and select it.
Once the sticker has uploaded you can close the window and your sticker can be found in the project stickers section of the stickers tab.  If you hover your cursor over the sticker then it will magnify it.  
To add the sticker to a page simply click on it and drag it to the page you want it on.  When you have the sticker selected on the page you can change the size of it and also manipulate it in other ways using the gray tool bar that pops up below the sticker.  


I used custom stickers in other places in the book as well.  The hot air balloons on each calendar page were vector files that I purchased on Etsy.  The little bison that you see on this page was just an image that I found by doing a google search.  I saved the image to my computer and opened it in Pixelmator. I used the magic wand tool or paint selection tool and clicked on the background surrounding the image and deleted it.  Then I saved the image as a PNG.  The only problem with this is that the images are often poor quality which limits how much you can enlarge them with out them becoming blurry or pixelated.  This wasn't a problem for me, however, since I was using them on the calendar pages and needed them to be small.  You could also type png after the image you are searching.  You will know it is a PNG if the background comes up with a checkerboard pattern when you click on the thumbnail in google images.  Then you can eliminate the step of removing the background in photo editing software.

I also scanned the footprints from the hospital into my computer and made them into PNG files.  I had to adjust the darkness of the footprints to make it work properly but you just have to play around with it little bit.

One of my favorite pages in the book is this page with all of her monthly photos and her 1st birthday invitation in the middle.
It is so fun to see how much she has grown.  And now she is 15 months!  Time flies!
Here is my little cutie playing in the leaves.  I love her so much!  Up next: a simple diy Kitty costume.

Friday, October 21, 2016

Nursery Book Ledges

Hello Everyone!  I am happy to announce that now that Lyla is almost 15 months old her room is finally done!  Over a year ago I shared the big nursery reveal with you but there has been one more thing that I still wanted in the room that we ran out of time to do before Lyla was born.  I had plans for book ledges on the wall next to her closet on the north side of her room.  
I loved seeing that banner from the baby shower on that wall over the past year but otherwise that wall seemed empty.  Now that wall has functional storage for all of her books! My husband did all of the work on this one so I can't take any of the credit.  Don't they look amazing!  He used Ana White's plans for ten dollar picture ledges.  They work great for storing books as well as displaying picture frames.  


Depending on the thickness of the book you can fit the books 3-4 deep on the ledges so it can store a lot of books.  We made sure that the bottom shelf was low enough for Lyla to be able to take books off herself.  All of the books with paper pages went on the top shelf so that Lyla couldn't get them herself and rip the pages.  It is so nice for reading her a story at nap and bedtime because I just grab a book while sitting in the rocking chair.  Lyla also likes it when I let her pick out the book to read.  

Thanks for reading this post!  I have many posts to come in the near future including bow tie pacifier clips, a Harry Potter onesie, updates on the bonus room, and Lyla's kitty Halloween costume.  See you next time!

Tuesday, October 11, 2016

Maxaloones and The Eleanor Dress

Happy Fall! I can't believe it has been over a month since I wrote a blog post.  That wasn't my intention but sometimes life gets busy.  There are no lack of projects to share but I just haven't had the motivation to post about them.

Today I am writing about 2 patterns for baby/children's clothing that I have tried recently.  The first pattern is a pattern for pants called Maxaloones by Max and Meena Patterns.  The pants have an extra piece in the bottom that makes them great for cloth diapered babies.  They also have a belly band and leg bands that allow the pants to grow with the child by adjusting the bands.  I made a couple of pairs for my friend's son.  It was a pretty easy pattern to follow and they are really cute.


The navy jersey knit and fish interlock fabric both came from our local fabric store Modern Textiles. The deer jersey knit is from Girl Charlee Fabrics.

The next pattern is The Eleanor Dress from Shwin Designs.  This pattern has several collar and sleeve options for the dress and also has a shirt option. The dress also has pockets which I love. I loved this pattern.  It was easy to follow and turned out so cute.  It was my first time using rib knit and the pattern gave really clear instructions on using it.  I plan to make a few long sleeve shirts for her using this pattern in the near future.


The chevron fabric that I used was from Girl Charlee Fabrics.  The green and yellow chevron is no longer available but they have plenty more colors of chevron knits on their site.  When I first saw this fabric I bought about 6 yards because it is the colors of my alma mater North Dakota State University.  I also recently made another pair of Baby Got Back Leggings with the same fabric.
Here she is sporting them at the rehearsal of the alumni band at homecoming a week and a half ago.  I am not sure when or what I will post about next but I have no lack of options so keep checking back!
Related Posts Plugin for WordPress, Blogger...