Showing posts with label fabric. Show all posts

Saturday, May 12, 2018

How I Cloth Diaper 2.0

Spring has finally arrived in North Dakota!  Last weekend was so beautiful and we made sure to spend a bunch of time outside both at the park near our house and in our backyard.  This weekend is a little cooler but we still got some good backyard time today.  Today I wanted to write a post as an update to my original post on cloth diapering.  In this post I will share all that I have learned in the past year and 8 months since I wrote that original post. 

When I wrote that post we were only 3 weeks into our journey with cloth diapering and I am now happy to report that we made it through the journey which is almost over for my 1st and have successfully been on that journey for the past 4 and half months with our 2nd. 

Somethings have changed quite a bit and others have not changed at all.  My diaper of choice for daytime is still the 4.0 or 5.0 bumgenius pocket style diapers. 

Nightime Diaper Solutions

As my oldest grew however those diapers didn't really cut it for nighttime use.  I tried doublers including hemp ones to add absorbency but it still wasn't enough.  I tried Best Bottom diapers which have snap in inserts for awhile but they weren't my favorite.  I still use them from time to time though.  A friend of mine whose son was a heavy wetter told me about Grovia O.N.E.S and that is now my nighttime diaper of choice.  They are so awesome but are a little bit pricier than others.  I'm glad we have them though because my 7 month old is a much heavier wetter than her older sister was so she is already using the Grovia O.N.E.S at night. 

Wash Routine

One big change to our cloth diapering since that last post is the wash routine.  This is one that I wish I would of changed much sooner.  My biggest advice on this subject is to find a wash routine that works for your washer and the water that you have in your town.  The website Fluff Love University is the most awesome resource for figuring out how to wash and care for your cloth diapers.  I didn't realize that we had hard water and I was washing our diapers completely wrong for over a year.  My oldest started getting rashes all the time that would go away when she wore disposables for an extended amount of time.  The diapers had also developed a barnyard smell that never seemed to go away.  I ended up having to strip the diapers which you can also read about on the Fluff Love University website.  I now have a completely different routine and I use good old Tide in the powder form now.  It works great and the diapers no longer smell.

Spraying Diapers

When I wrote my original post on cloth diapering we were quite a long way from having to spray diapers.  I bought a diaper spraying when Lyla was about 5.5 months but didn't end up having to really use it until she was about 7.5 months.  Lyla only ate solids at dinnertime until about 8 months.  I tried to feed her at breakfast time before then but she always refused.  Because of this her diapers really didn't end up needing to be sprayed for awhile.  Ana has been eating 2 meals a day of solids since about a month ago so her diapers needed to be sprayed much sooner.  I really recommend having a diaper spray for when your child starts solids.  Some deem it unnecessary but I find it useful.  It is also great for cleaning off blowout clothes from daycare and has really come in handy during potty training as well for when Lyla has an accident. 

Extra Absorbency

Like I mentioned earlier, Ana is a much heavy wetter than Lyla.  She just pees a lot I think.  In the hospital almost every time we changed her wet diapers she would pee when her diaper was off.  It happened so much that we had to have the nurses bring in extra bassinet covers several times while we were there because we kept running out.  Flour sack towels are a solution for lots of people because they are absorbent, natural, dry quickly, and are cheap.  I bought 24 of them from Target.  I don't feel like taking the time to fold them every time I wash them so I decided to sew them into inserts.  The drying time will be a little longer but should still be pretty fast.  I used this tutorial to make the inserts.

Replacing Elastics

Overall my diapers have held up really well but many of them had elastics that were really shot.  Because of this I couldn't really use them on Ana because she had much skinnier legs than Lyla did.  The elastic on the bumgenius diapers is actually pretty easy to replace, it's just tedious.  It took me a good 2 months to finally finish all of them because I only did a few at a time.  This video tutorial really helped me.

Cloth Trainer

Many of the cloth diaper companies make cloth trainers as well.  They cost about as much as a cloth diaper though and I couldn't justify spending that much on something that would be used for such a short period of time.  For day training I did naked training with Lyla and then I went straight to underwear after that.  She still isn't nap or night trained so she wears pull ups for nap (although she hasn't worn a pull up for nap at daycare in a few months and has only had a handful of accidents) and up until recently Grovia O.N.E.S at night.  When Ana started needing the Grovia diapers I decided to try to make a few cloth trainers.  I used this pattern called Sanity Saving Training Pants.  

I'm definitely not going to go into the business of making cloth diapers or trainers but these do look pretty cute and do the job.  I got the PUL fabric from Diaper Sewing Supplies.  I really had to fiddle around with the waist and leg openings and I still don't like how baggy these are in the front but they work. 


That space kitties fabric is my favorite!  Funny story is that I had this fabric draped over her chair at the dining table for a couple of months until I trusted her not to have an accident on the dining room chair.  She randomly asked me a few weeks after I had removed it where her kitty one went ha ha.  I also made a pair with red fabric with white polka dots for my Minnie Mouse loving girl and I have one more print that isn't shown here because I messed up really bad on that pair and need to start over. 

Well that is all for now!  Next time I will be sharing some decor projects with you either in the family room or the living room depending on which one I finish and put up first!


Sunday, January 14, 2018

Handmade Holiday 2017

Happy 2018!  I wanted to write a post on some of these things prior to Christmas so that they might be the inspiration for some last minute gifts but time got away from me.  I guess they will have to be next year's inspiration.  I have had so much fun making gifts for Lyla since she was born and now I get to do the same for Ana as well.  

First up: Christmas PJs.  Now the pajamas weren't actually Christmas gifts but I made them for the girls to wear on Christmas.  It is so fun to see Lyla getting to wake up Christmas morning and see her Santa gifts while wearing a cute pair of Christmas pjs.  


I made Lyla a pair of Movie Night Pajamas by Sew A Little Seam just like last year.  
This year I decided to make them entirely out of the deer fair isle Christmas fabric from Girl Charlee with the exception of the cuffs on the sleeves and ankles.  I seriously love this pattern so much and plan to make tons more of these babies.  In fact, I may never buy the girls any pajamas as they get older.  Here is a picture of my cutie in her Christmas pjs on Christmas morning:
Of course I couldn't leave Ana out of the Christmas pj fun!


I decided to make her a pair of Lullaby Line Snap Pajamas from Peek-a-Boo Pattern Shop.  I really liked this pattern too.  I did make one mistake when I was sewing the gusset.  I was using my serger to sew the legs together and I accidentally cut right through the gusset.  Oops!  They still look cute though!  I don't have a picture of Ana wearing hers on Christmas because she blew out her diaper right away!
I did get a picture of her with her Christmas headband that I made when we had her snuggled into her carseat to head over to my parent's house.  I used this knot bow pattern and tutorial from Coral + Co.  It was a quick and easy sew.  

Here are my sweet girls together in their pajamas:

Next I will share with you the gifts that I made for the girls. 
For Ana I made a bandana scarf and a pair of harem pants.  For the bandana bib I used this tutorial and pattern from See Kate Sew.  It was a very easy project and I LOVE the mini pom pom trim.  Also this mustard dot fabric is the best.  Unfortunately Girl Charlee no longer has this fabric.

These harem pants from Made By Me Patterns was seriously the easiest pair of pants that I have ever made.  So simple and so cute!

Now for Lyla's present:

This adorable soft structure baby carrier is called The Mini and it is by Sew Toot Patterns.  Sew Toot makes patterns for actual baby carriers that are so amazing.  If I had the time I might just try my hand at the real thing!  They also have a pattern for a baby nest like a Dock a Tot which would be fun to make too.  The instructions for the pattern were so easy to follow and this really came together quickly.  I had so much fun sewing it and I think I might make a few of these to sell in my Etsy Shop. I made the carrier with grey canvas fabric and this lovely Michael Miller print for the accent piece. The Michael Miller fabric was on clearance at Hobby Lobby which made it even more awesome!
Lyla had fun wearing her new Thundar stuffed animal on Christmas day.  Go Bison!

I hope you feel inspired by this round up of handmade holiday items!  Hopefully I will get a chance to write a post about Ana's advent baptism brunch soon!


Friday, November 25, 2016

Pattern Review: High Chair Cover


I hope everyone had a great Thanksgiving!  Ours was wonderful, relaxing, and full of family time. Hopefully those of you who are big Black Friday shoppers were successful in your endeavors.  All of my Black Friday shopping has been online because I am not a fan of the crazy crowds!

Today I am reviewing a pattern that Fisher Price Space Saver High Chair Pattern by Sewplicity.  I want to start off this post by saying that I absolutely love the Fisher-Price Space Saver High Chair.  It can be attached to many different types of dining chairs and it is convenient to take with you when you are going over to someone's house to eat a meal.  My only complaint with it was that it only came with one cover and the cover needs to air dry after being washed.  This doesn't work very well when you have to wash it in-between meals.  While looking for replacement covers to buy (you can buy extra Fisher-Price ones here), I came across the Sewplicity pattern and thought I would give it a try.  I cut the fabric for the pattern way back in July while working on Lyla's teepee.  I finally got around to sewing them about a month and a half ago.  


For the outer fabric of the covers I decided to use PUL fabric.  This is the same fabric that is used on cloth diapers.  I found the PUL fabric for these covers on a website called Diaper Sewing Supplies. The fabrics I used were Wildflower Watercolor and Fanciful Foxes.  I did not use any fusible interfacing like the pattern called for because I was using PUL.
The directions for this pattern were very easy to follow and the covers came together quickly. Because of the multiple layers of fabric and batting that needed to be sewn together, it was quite a workout for my machine.  A sharp needle is definitely essential for this project.  I was a little stumped on sewing free-hand buttonholes for the straps to go through.  The pattern's author does include directions on her blog but after reading a few more blog posts from other bloggers on the subject I figured out that I just needed a clear foot so that I could see my markings on the fabric.  I used a satin foot like this one.  Then I pulled down the buttonhole lever and changed the settings on my machine to the proper ones for sewing a buttonhole.  I just had to manually move the buttonhole lever when I came to the end of my marking to reverse the direction and sew the other side of the buttonhole.

I didn't sew the buttonholes on the bottom part as indicated in the pattern directions because it wasn't necessary for my model of the high chair.


Overall I really liked this pattern and love how the covers turned out.  They are so fun and I like having the ability to really customize Lyla's high chair.  Sometimes I feel like this blog is turning into a sewing blog instead of a house blog but I just love sewing so much!  I have been busy sewing Lyla some Christmas pajamas and I hope to be doing a fun Christmas photo shoot with her soon so check back for those posts.

Saturday, November 19, 2016

Sewing for Baby: Bow Tie Pacifier Clip

Thanksgiving is now less than a week away.  I love Thanksgiving so much.  I love watching the Macy's Thanksgiving Day Parade while I look at the Black Friday shopping ads (I never go Black Friday shopping though, I just like to look at the ads).  I love preparing half of the meal (my mom does the other half).  And I love spending time with family while eating delicious food.  It is also a very welcome break from the stress and busyness of preparing for Christmas concerts.  My most favorite part of Thanksgiving though is that afterwards it is okay for me to go into full Christmas mode and get out the decorations, pop my Christmas CDs into my car CD player, and watch all of my favorite Christmas movies.  This year I am even looking forward to Black Friday since the Gilmore Girls mini-series is premiering on Netflix.  I can't believe it is really happening!  It is my favorite show and I have watched the series from beginning to end at least 8 times.  Oy with the poodles already!

So you probably didn't come here to hear me talk non-stop about holidays and Gilmore Girls so I guess I should get to the actual topic of this post: Bow Tie Pacifier Clips.  My cousin had a baby boy in July (he actually shares a birthday with my Lyla!) and I finally got around to sending something for him about a month ago.  I gave them a Target gift card which will be good for diapers if nothing else and of course I had to throw in something handmade as well.  I saw an Etsy listing for bow tie pacifier clips and thought they were so cute that I had to try and make them myself.  I ended up combining two tutorials from a blog I love Make It & Love It.  You may remember that I made this cute faux vest onesie with snap on bow ties for a friend back in June.

I used the bow tie tutorial that was linked to that post and a different tutorial for pacifier clips.  
I cut out rectangles of scrap fabric in the size indicated in the tutorial.  I folded them in half longways with right sides together, sewed, and then turned them right side out.  This is an excellent scrap busting project by the way!
I then tucked the end in.
I cut a piece of elastic cord and folded it in half and then tied a knot at one end.  

I then inserted the cord with the knot into the folded end and sewed in place.
I then looped the other end through the alligator clip while folding the end under and sewed it in place.  The alligator or suspender clips are made by Kam snaps and you can get them here.  The link is to the big 52 piece pack but you can by smaller packs too.  

Finally, I hot glued the bow ties onto strap close to the clip.  

I attached one of Lyla's pacifiers to one just to test it out.  
While I was laying them out to take a picture of them, Lyla picked up the one with the pacifier and put the pacifier in her mouth so I clipped it on.  Doesn't she look dapper with a bow tie, haha!  I hope you enjoyed this post!  I am currently working on two more sewing project: a pair of Christmas pjs for Lyla and a mermaid baby gown that will be a gift to the next person I know that has a baby girl.  

Tuesday, November 1, 2016

Simple Black Cat Costume

Well the plan was to get this post in before the end of October but I missed it by a day.  Oh well! I hope you all had a Happy Halloween!  Today I am here to share the simple Halloween costume that I made for my daughter.  Last year for her first Halloween Lyla was an owl.  You can check out how I made that costume in this post.
Owl Baby Costume

She's just changed a little bit! ;)  This year I decided to dress her as a black cat.  She loves kitties and one of her first "words" was kitty.  I say words in quotations because it was mostly just a "k" sound followed by hissing sound.  Now she can say it so that it sounds more like the actual word. I knew that this would be the perfect costume for her. This costume was so easy to put together and it was cheap!
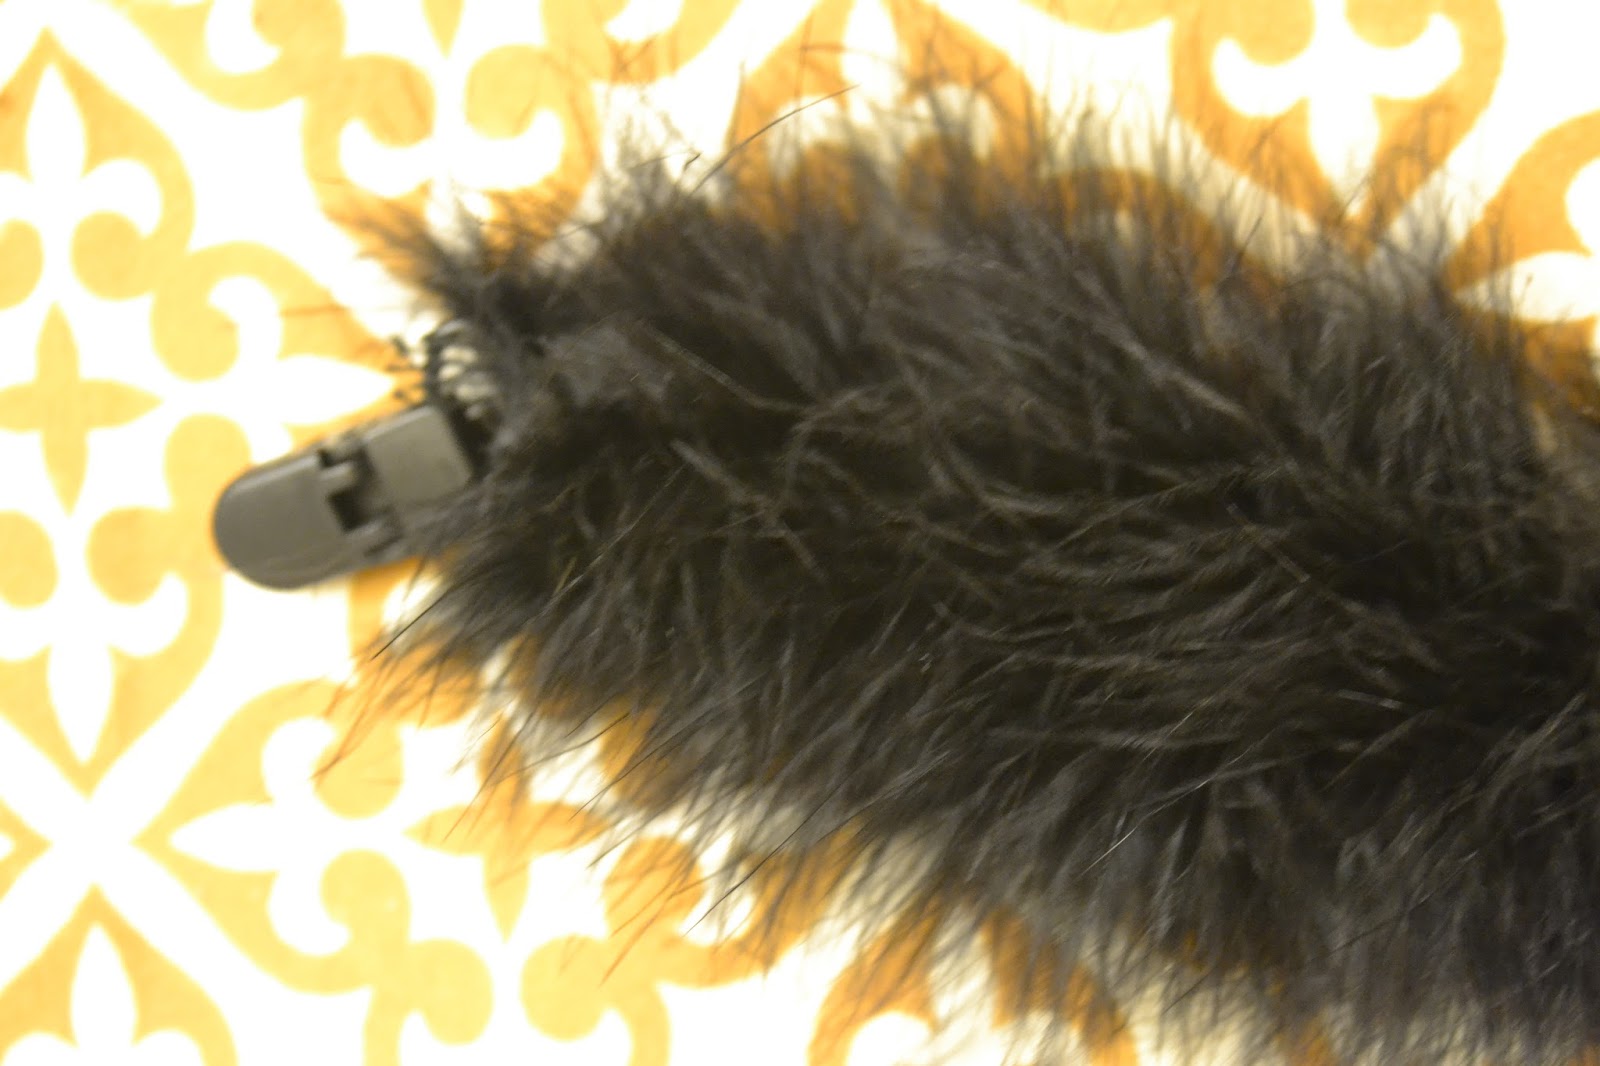
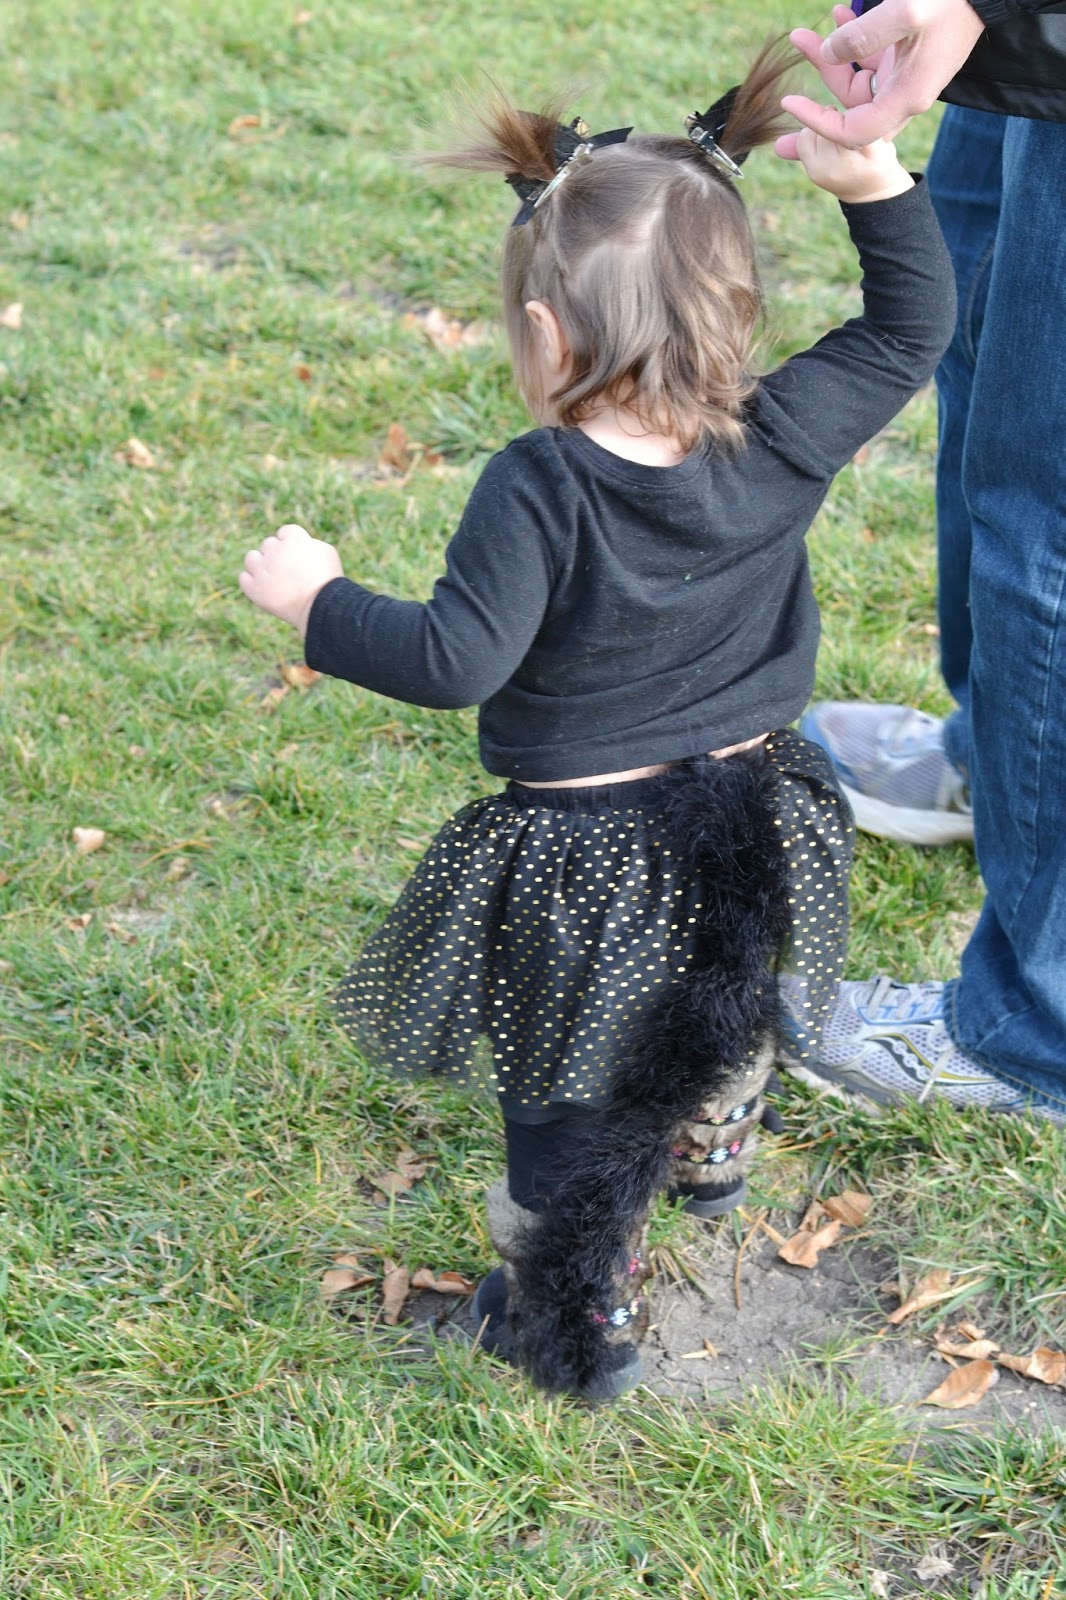
I have the "paws" from her costume in the picture above but I never put them on her because both times that she wore her costume it was unseasonably warm.  I will start with how I made the tail.  The tail was made with a feather boa that I purchased at Joann Fabrics.  I attached it to a Kam pacifier clip which you can purchase here.  I tied it on and then put a dab of hot glue to secure it. I had to cut it of course so that it wouldn't be too long and trip her.  She was just starting to walk when I started making the costume but I knew that by Halloween she would be walking well so it wouldn't get in her way. Here a really blurry picture of the clip attached to the boa, sorry!
The paws were just a simple pair of mittens with extra pieces of boa glued around the wrist part.

I cut the ears out of black felt.  I didn't use a pattern at all, I just eyeballed it.  I used some gold glitter heat transfer material for the middle part of the ears and attached it to the felt using the package directions.

I attached the ears to metal hair clips with hot glue.  I then tied some ribbon that I had on hand into bows and glued them to the ears.
When I dressed her in her costume, I put her hair in pigtails on the top of her head and just clipped the ears to the pigtails.  Super simple and cute.


Her tail was clipped onto to her black leggings.  The rest of her costume consisted of black leggings and a black shirt from Old Navy, this cute skirt from Macy's, and a pair of hand-me-down boots.  The above pictures are from Boo at the Zoo.  The picture at the top of the post is from Halloween and she is wearing a this cute Cat & Jack sweatshirt from Target.  This costume even survived the day at daycare yesterday!  Everybody commented on how cute she looked and I loved that it took me about 15 minutes to put together.  


Related Posts Plugin for WordPress, Blogger...