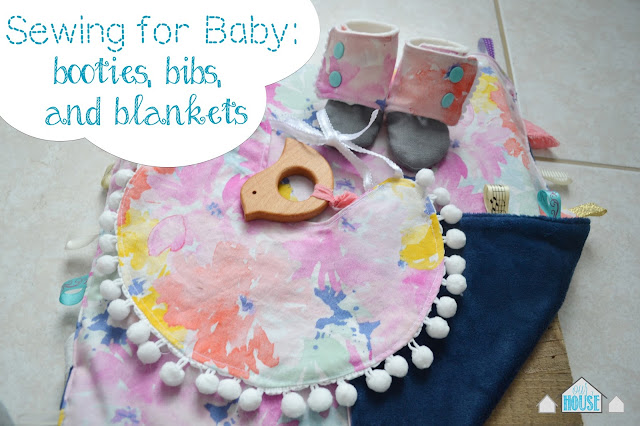
Man life has been busy. It seems that I can only manage a post or 2 every month. I've been busy with many projects lately but I haven't had much time for blogging about them! Today I've managed to find some time to write another post in the Sewing for Baby series that I started back when my oldest daughter was a baby. I have not one but three fun sewing projects to share with you today! First up is my favorite thing to make lately: baby booties and shoes. The pattern that I used for all of the examples in today's post is Maggie's Stay-on Baby Booties by Beautiful Pie Shop. I've had this pattern for a long time but never tried it until a friend wanted some stay on type shoes for her daughter.
I made my first pair for her using gray fleece and flannel lining. I love this pattern so much. It is easy to follow and they are really fun to make. Plus they really do stay on! I love them for my youngest because socks never stay on her feet and she is always pulling her carseat cover off of her feet. I no longer worry about her little feet freezing! I love making them so much that I now carry them in my Etsy shop The Petite Seam. They can even be made without the cuff which you will see in a few of the photos below.
And here is my sweet baby girl modeling them in her 5 month photos (she is over 6 months now!)
I used this tutorial for rounded pom pom bibs from the blog Life on Waller. I didn't follow the tutorial to a T however because I hate hand stitching so left a small opening, flipped it right side out, then topstitched the entire bib. I think topstitching makes it look more finished anyway. The blog also has a tutorial for a fringe bib which I'm going to try next.
My final (or maybe not *wink wink*) project for today's post is a taggy blanket.
This little blanket was so easy to make. I found some wooden teethers on Amazon but there are also some great ones on Etsy. I cut a piece of cotton fabric and a piece of minky 17" by 17". Then I cut a bunch of different pieces of ribbon about 4" each (it was around 32 pieces). Just make sure you use ribbons with varying textures to make it interesting for baby to play with. I wish I would of taken a picture of this step but I just folded each piece of ribbon in half and pinned the ends of the ribbon pieces to the right side of the cotton fabric. For the wooden teether I just cut a slightly longer piece of ribbon and tied it around the teether and pinned that ribbon to one of the corners of the cotton fabric. Then I pinned the cotton and minky right sides together. I sewed around the edge with a 3/8 inch seam allowance making sure to leave a roughly 2 inch opening. Then I flipped the blanket right side out, pressed, and pinned the opening shut. Finally I topstitched around the entire blanket.
The watercolor blanket was a part of a baby gift for a friend but I also made one for my baby to go in her Easter basket. I forgot to take a picture after it was done. If you look closely you can see the pins in this one because it still needs to be topstiched. Also that pacifier clip will be a future blog post :).
Finally I have a few more things to share with you that kept me busy at my sewing machine in February. You may remember that I recovered the glider cushions in my daughter Lyla's nursery (I'm using the same glider in Ana's room now). You can read more about that here. Recently my friend asked me to make slipcovers for the glider in her daughter's nursery. I love how this glider turned out. The cushions before were a light green.
I also made a few changing pad covers for her. You can read more about those in this other Sewing for Baby series post.
Also how amazing is that mid mod dresser that they painted teal!
This isn't all that I've been busy with of course. I have also been working on a couple of more sewing projects related to cloth diapers that I will share in a future post that will also include an update on our cloth diapering experience. As far as home improvement projects go I've taken my focus downstairs with our family room and my sewing studio getting paint jobs and some other exciting projects in the sewing studio which I will give you a hint at in this picture.
I will give you a tutorial on how to make that cute cactus teacup pincushion that you see next to my sewing machine in my next post!


No comments:
Post a Comment