I'm proud of myself for actually writing a post without letting three months pass by ;). Right now I'm working on planning Ana's 1st birthday party. I can't believe that she turns one in less than a month! Since I've got birthdays on my mind I thought I would write a post on the Moana party that we had for Lyla's 3rd birthday. One thing that I have definitely loved about being a mom is planning and throwing birthday parties. It is so much fun! And this year was especially fun because this was the first year that Lyla was able to pick her own theme. She loves the movie Moana-she wants to watch it all the time. I don't mind because I love the movie and especially love the music.
I created this invite in my Pixelmator software. I bought this Moana clipart from here. It came with that cute background on the invite too. You'll see this clipart used again later on.
I'm going to start with the games because that was the first thing that we did at the party. The main game was an Moana obstacle course that I created.
1st the kids slid down the slide.
Next the kids had to crawl or weave through the seaweed tunnel. I made this obstacle by sticking bamboo skewers in the ground an then slipping the pool noodles over them to create an arch. Then I added green streamers for the seaweed.
Next they had to jump on the trampoline. I used to jump on this little trampoline when I was a little girl. It belonged to my grandmother and I love that Lyla gets to jump on it too! The 4th obstacle was to crab walk or crawl from the trampoline to the patio. I figured that most toddlers wouldn't be able to crab walk yet.
The next obstacle was to "paddle your boat." I drew a line on the concrete with sidewalk chalk and the kids had to follow the line while holding the "paddle." We used Lyla's toy shovel for the paddle. If I would of had more time I would of made a paddle out of some sort of handle and cardboard.
I was originally going to have coconut bowling be a separate activity but we had a couple of pins that were permanently deflated so I decided to incorporate it as an obstacle instead. This blow up bowling set was a present from Lyla's Aunt for her 2nd birthday. I found these sea decorations at the dollar store and just taped them to the pins. I sent my husband out the day of the party to find this coconut. I called this obstacle "breaking the sea wall."
Finally the kids had to carry the heart of Te Fiti to Te Fiti. I had some little stones and I taped some heart of Te Fiti's that I had printed and cut out on card stock to them. I just found the clip art by doing a google search and it was free. Then I put them on spoons and the kids had to carry them to the Te Fiti backdrop that I made.
I originally drew out Te Fiti in my dining room with it taped to the wall. I used painters tape to give my self a line to reference for where to put the facial features. Unfortunately it ended up ripping the tablecloth which was just a cheap dollar store one when I took it off. I didn't want to draw the face again to I just put the other tablecloth I had bought behind it. I drew hear face on with a green sharpie. The heart is just a bigger version of the one I made for the obstacle course. I used dollar store grass stuff and a garland from Oriental Trading Company to create her hair. I bought some leis from Party City for guests to wear while taking pictures.
The only other activity I had was the water table. You can read more about how I made this in this post. This was a big hit at both her 2nd birthday party and this one. Little sister loved it to and got soaking wet!
Inside I had a happy birthday banner that was a free printable from Catch My Party and you can find them here. I also used the little tented cards to label the food and the You're Welcome sign which I taped to the front door. I made the leaf garland with my Silhouette Portrait. I found the tropical leaves in the design store and cut them out on different shades of green card stock. Then I punch holes in each leaf and strung them onto some bakers twine. I hung them up with some push pins in the ceiling. I wish I had taken a better picture of it and I had plenty of opportunities since it was up for a month after the party! I decorated with some leis on the table and these cute Kakamora pirates that I made using coconut cups from Oriental Trading Company, craft acrylic paint, and mod podge. Here's the tutorial that I used to make these.
I didn't do a good job of taking pictures of the food but I served sandwich meat and cheese and crab salad with Kings Hawaiian hoagie buns (and the regular size Kings Hawaiian rolls for the little ones). I had a veggie tray with ranch dip and made a little island in the dip with half a red potato with a carrot stuck in it for the trunk of a palm tree and a green pepper cut for the palm leaves. You can see it in the picture above (it was the only picture I got!). We also had chips and pineapple.
I made a this lime sherbet punch and called it Heart of Te Fiti punch.
Of course the crowning glory of it all was the cake! I was so pleased with how it turned out. You can find a bunch of examples of similar cakes to this on Pinterest. For the cake I used this recipe for chocolate cake and this recipe for mock chocolate mousse filling. The filling was so good! I made three layers of the cake. I used this buttercream recipe. I crumb coated the cake with white frosting after filling and stacking the layers. Then I used a spatula with the blue frosting to give it the wavy texture. I used a piping bag with a grass decorating tip for the grass. I bought the little flowers at Joann Fabric. The bamboo is made with Pepperidge Farm Pirouette Cookies. I found the Moana set with canoe at Target. I can't believe I made this cake!
Finally the favor bags contained one of the Kakamora coconut cups with a bamboo straw, a bag with shark, octopus, and fish gummies, and Moana temporary tattoos. I made the bag toppers with my Silhouette Portrait and the same clip art as the invite. The font is a free Moana font. The tattoos were made using my Silhouette Portrait and the special tattoo paper that they make. I used this clipart and I especially liked the Maui ones that look like his tattoos.
Lyla has been a big fan of tattoos lately so she loved these. I seriously loved planning and throwing this party. I hope this post gives you some inspiration!
Showing posts with label party. Show all posts
Friday, August 31, 2018
Thursday, July 28, 2016
A Simple Backyard 1st Birthday Party
I started by making the invitation. My daughter loves kitties so I decided to make the invite cat themed even though the party itself didn't have a specific theme. I usually make this sort of thing with my Pixelmator software but this time I decided to use my Silhouette software instead. I chose to use the Silhouette software because I could find the kitty shapes in my library in the software instead of having to find and purchase the right png images.
For the smash cake I made a kitty cake. I made the cake layers in a 4 inch CorningWare ramekin. I made a basic buttercream frosting and after frosting the cake with a crumb coat I piped on the "fur" using Wilton No. 233 Multi-Opening Decorating tip. I then used some purchased fondant to make the face and ears of the cat. The black and pink on the eyes and nose was gel icing. The whiskers bled a little, they looked better after I first finished the decorating but I forgot to take a picture then!
The cake stand was a $5 purchase from the dollar aisle at Target. I used a barnwood frame purchased at Hobby Lobby to showcase the monthly photos of Lyla. You can read more about the monthy photo sessions here and here. I purchased the prints from Shutterfly because they have a new 4" by 4" print option. The baker's twine, thumb tacks, and clothespins were all leftover items from this photo display in Lyla's nursery.
I used a tablecloth I had on hand and the bunting from her monthly photos to finish decorating the food table. We served fried chicken, watermelon, cowboy caviar and chips (you can find the recipe in this post on our last NYE party), a couple of store bought pasta salads, a layered jello salad, and this delicious broccoli salad.
We also set up Lyla's birthday gift for the kids to play in at the party. There will be a separate post on the making of this teepee at a later date. There you have it, a very simple 1st birthday party. It was fun and the weather turned out perfect despite a little bit of wind.
Saturday, February 20, 2016
Alphabet Block Craft
As promised I am back with a post on how I put together the craft for my friend's baby shower a few weeks ago. This was a massive project that I created mostly with my Silhouette portrait so get ready for a very detailed, picture filled blog post. I started with the idea that I wanted to create stickers for the blocks of the alphabet letters and also stickers of an animal and an instrument (since my friend and her husband are music teachers like me) for each letter. Silhouette makes some great printable white sticker paper which you can purchase here or at Michaels. Here is how I created the stickers in my Silhouette Designer Edition software:
1. Google animal silhouettes (you may have to make it into png file using photo editing software if it is in some other file format and has a background). Save the images to your desktop and then drag it into your Silhouette software.
2.Select the trace area and trace your image.
3. Drag away and delete the original image.
4. Change the line color of the shape to the color of your choice. You can change the line thickness if you desire as well.
5. Fill the shape with a pattern.
I learned how to add my own patterns to my library in this project. You simply drag a saved background image into your pattern folder in you library. Easy peasy!
6. Then I scaled the pattern to my liking in the advanced options of the fill pattern window.
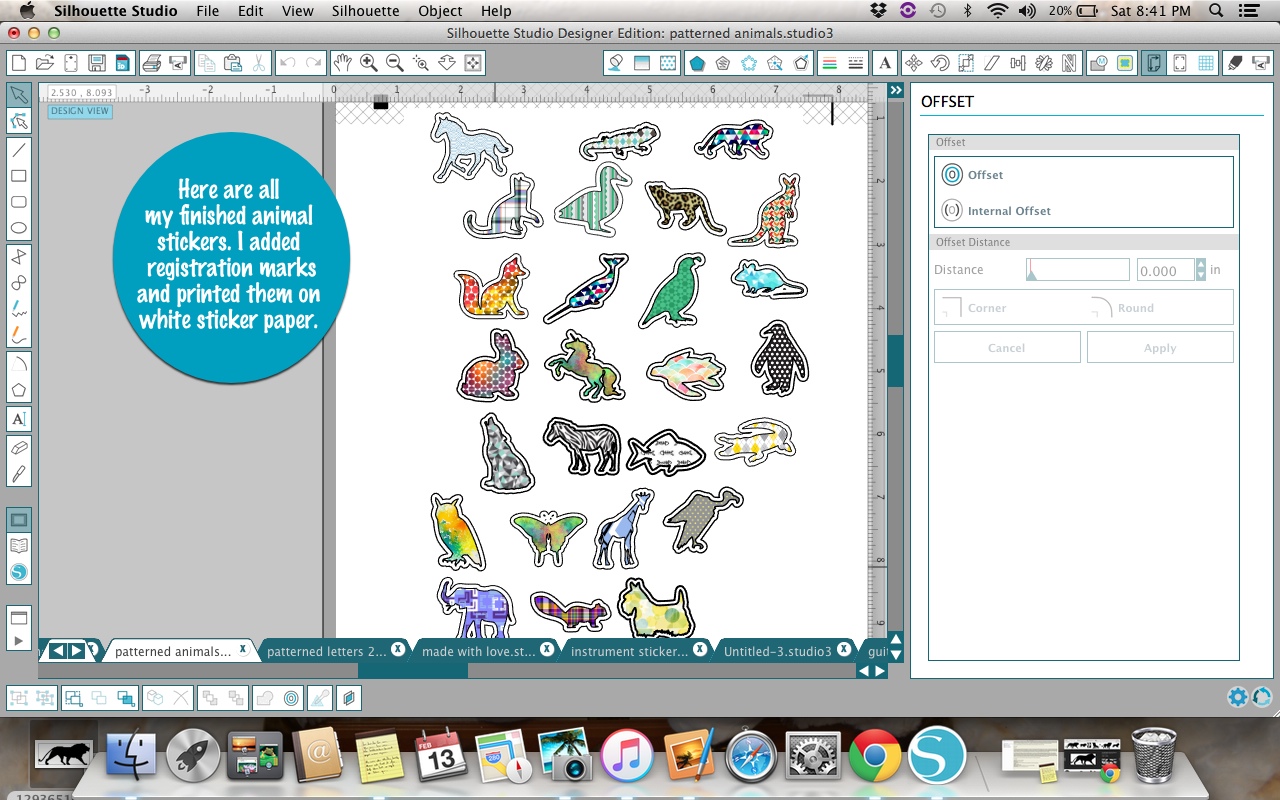
6./7. I added an offset to my stickers and adjusted the distance to make the offset fairly close to my image.
Look at all of those cute patterned animal silhouettes! So much fun! I printed the stickers with my printer and then cut them out with the Silhouette.
8. I traced each instrument image to add an offset. I purchased most of the instrument clipart on Etsy or Teachers Pay Teachers but I also used Google images for some.
9. Add an offset to the traced instrument shape and then delete the traced shape.
10. Drag the offset and line it up with the instrument image.
Here are the completed instrument stickers. I then printed and cut them just like with the animal stickers.
Next I created the letter stickers with a font from my computer and changed the line color and filled with patterns. I made two of each letter so that each block could have two lettered sides. Once again I printed them and cut them out on white sticker paper.
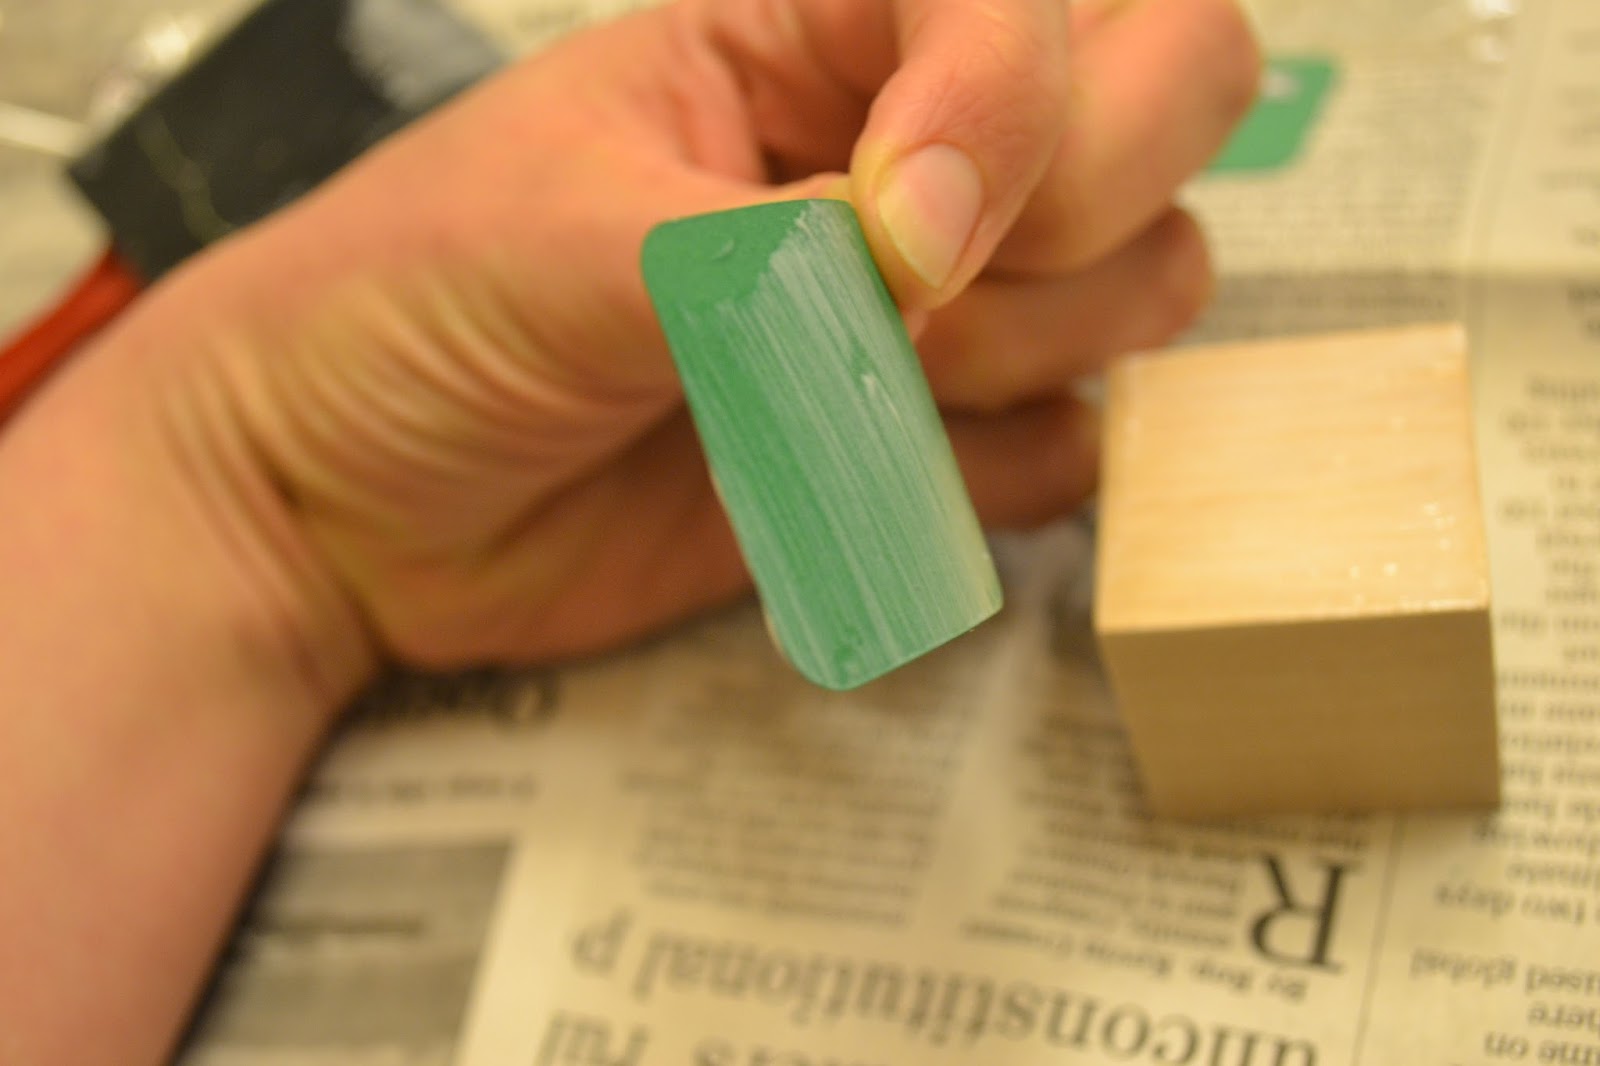
I found the wooden blocks at Hobby Lobby. They are 1.5" square. To prep them, one of the other hosts and gave them a light sanding since some of the edges were a little rough. I made backgrounds for the stickers with the Silhouette and cut them out in various colors of card stock. I also made plenty of white squares for people to design their own side with another object that fit with their letter.
I also created a signature side for the blocks in the Silhouette software and cut it out on white card stock.
To set up the craft I filled a small sandwich baggy with an animal sticker, letter stickers, instrument sticker, a white background for the design your own side, and a signature background. I labeled each bag with the letter and the name of the animal and the name of the instrument so that people knew what to write on their block.
I placed five or six letter bags in a box at each table (we had 4 tables set up for the number of guests at the shower). I placed the various backgrounds that I cut out in the lid of the box. I put markers and foam craft brushes in jars on the table. I stacked 5 or 6 blocks at each table and put mod podge in a styrofoam bowl.
I also made this instruction sheet for each table because I thought picture instructions would be easier to follow.
Here is how the blocks were assembled:
Choose a background for each of your stickers and place the sticker on the background.
Label your instrument and animal.
Draw your own picture for your letter and label on a white background piece. Sign the signature background piece.
Now admire your creation!
It was so fun to see what the shower guests created! They turned out so cute! One thing to note is that I wouldn't let a child play with these blocks until they are past the stage where they have to put everything in their mouth. Until that time they will look cute displayed in the nursery! I have so many ideas for posts so if I get motivated be prepared for a barrage of blog posts in the next few weeks ;).
Subscribe to:
Posts (Atom)