Showing posts with label gifts. Show all posts

Sunday, November 18, 2018

What I've Been Sewing: Kids Shirts


Now that I have a little side business of sewing, I am constantly sewing new things.  Each one on their own isn't really enough to write a blog post on but I thought I would combine a few and start a new series of what I've been sewing.  I've definitely come a long way from when I first received my sewing machine and wrote these two posts: things I can actually sew and things I can actually sew II.  It turns out that I can actually sew a lot of things, LOL!

I'm starting with shirts because that is what I've made the most of recently. The first pattern that I used for this post is the Jolly Roger Raglan from Patterns for Pirates.


This pattern has size options from 3m-14 and it has multiple sleeve and hem options.  For the deer one I made a straight hem with long cuffed sleeves and for the dinosaur one I made a curved hem with long cuffed sleeves.  You can also buy an add on pack to add other fun features to the shirt.  It was an extremely easy sew.
Next up is the Eeny Meeny Miny Moe from the Peekaboo Pattern Shop.  It is a very versatile pattern for a baby bodysuit that has multiple sleeve options and can have an attached shirt or dress or you can make the shirt and dress on their own like I did here.  The hood and kangaroo pocket are included in the pattern!  It is for sizes preemie to 4T.  In the picture I have it shown with a matching Adult Classic Sweatshirt also from Peekaboo.  I love Peekaboo Pattern Shop.  Their patterns are versatile and have easy and clear instructions.  This is already the 3rd thing I've made from this pattern.

Photo Credit: exposures by j.linnea
This sweet little peplum top is the Baby Bloomsbury by Little Lizard King.  There is also a version for older children that has dress versions as well.  Like all of Little Lizard King's patterns this one is packed with options. I made the 3/4 length sleeve option.  It was a quick and easy sew even though this fabric was a little bit of a beast to work with compared to other fabrics I have.  Isn't that photo from our recent professional photo session amazing!  I can't believe how much she's growing up!


And finally, my favorite pattern to sew up lately, the Hideout Hoodie from Peekaboo Pattern Shop.  It includes size 3 months-12. I love everything about this pattern: the crossover hood, the little mini pockets, and the color blocking options.  I have a few fabric panels that I plan to use for some hoodies for my girls soon.  Hoodies seemed so intimidating to me a few months ago but then I tried this pattern and the Eeny Meeny Miny Moe and now I'm hooked on making them!  I really want an adult version of this pattern.

I didn't list fabric sources for each of these because I don't want to spend all of my time attaching links so if you want to know where I got something just ask!

Next up for the blog will either be a post on Ana's first birthday or some updates in our mudroom.  We'll see what I feel motivated to write about first :).


Tuesday, April 10, 2018

Sewing for Baby: Booties, Bibs, and Blankets


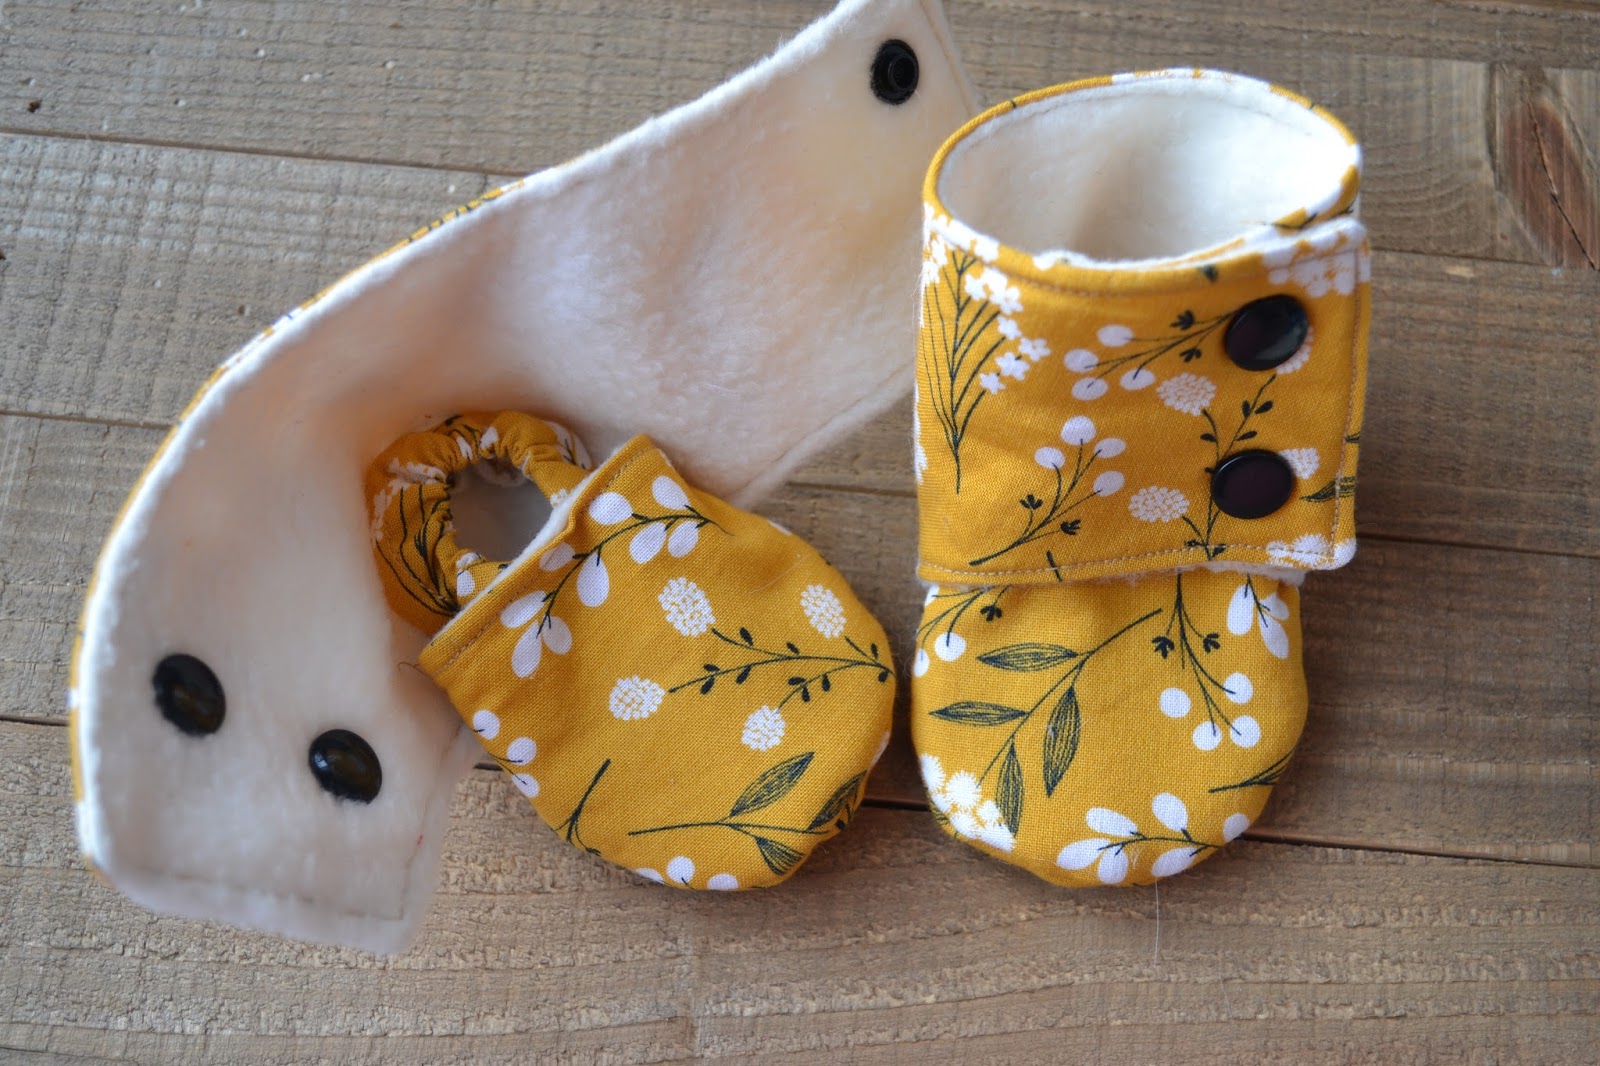
Man life has been busy.  It seems that I can only manage a post or 2 every month.  I've been busy with many projects lately but I haven't had much time for blogging about them!  Today I've managed to find some time to write another post in the Sewing for Baby series that I started back when my oldest daughter was a baby.  I have not one but three fun sewing projects to share with you today!  First up is my favorite thing to make lately: baby booties and shoes.  The pattern that I used for all of the examples in today's post is Maggie's Stay-on Baby Booties by Beautiful Pie Shop.  I've had this pattern for a long time but never tried it until a friend wanted some stay on type shoes for her daughter.  

I made my first pair for her using gray fleece and flannel lining.  I love this pattern so much.  It is easy to follow and they are really fun to make.  Plus they really do stay on!  I love them for my youngest because socks never stay on her feet and she is always pulling her carseat cover off of her feet.  I no longer worry about her little feet freezing!  I love making them so much that I now carry them in my Etsy shop The Petite Seam.  They can even be made without the cuff which you will see in a few of the photos below.


And here is my sweet baby girl modeling them in her 5 month photos (she is over 6 months now!)

 The next project is one that I have yet to make more of but I plan to make a lot more of them.  I hope to list them as a new item in my Etsy shop soon but so far I've only made one as a gift for a friend.


I used this tutorial for rounded pom pom bibs from the blog Life on Waller.  I didn't follow the tutorial to a T however because I hate hand stitching so left a small opening, flipped it right side out, then topstitched the entire bib.  I think topstitching makes it look more finished anyway.  The blog also has a tutorial for a fringe bib which I'm going to try next.

My final (or maybe not *wink wink*) project for today's post is a taggy blanket.
This little blanket was so easy to make.  I found some wooden teethers on Amazon but there are also some great ones on Etsy.  I cut a piece of cotton fabric and a piece of minky 17" by 17".  Then I cut a bunch of different pieces of ribbon about 4" each (it was around 32 pieces).  Just make sure you use ribbons with varying textures to make it interesting for baby to play with.   I wish I would of taken a picture of this step but I just folded each piece of ribbon in half and pinned the ends of the ribbon pieces to the right side of the cotton fabric.  For the wooden teether I just cut a slightly longer piece of ribbon and tied it around the teether and pinned that ribbon to one of the corners of the cotton fabric. Then I pinned the cotton and minky right sides together.  I sewed around the edge with a 3/8 inch seam allowance making sure to leave a roughly 2 inch opening. Then I flipped the blanket right side out, pressed, and pinned the opening shut.  Finally I topstitched around the entire blanket.
The watercolor blanket was a part of a baby gift for a friend but I also made one for my baby to go in her Easter basket.  I forgot to take a picture after it was done.  If you look closely you can see the pins in this one because it still needs to be topstiched.  Also that pacifier clip will be a future blog post :).

Finally I have a few more things to share with you that kept me busy at my sewing machine in February.  You may remember that I recovered the glider cushions in my daughter Lyla's nursery (I'm using the same glider in Ana's room now).  You can read more about that here.  Recently my friend asked me to make slipcovers for the glider in her daughter's nursery.  I love how this glider turned out.  The cushions before were a light green.


 I also made a few changing pad covers for her.  You can read more about those in this other Sewing for Baby series post.

Also how amazing is that mid mod dresser that they painted teal!

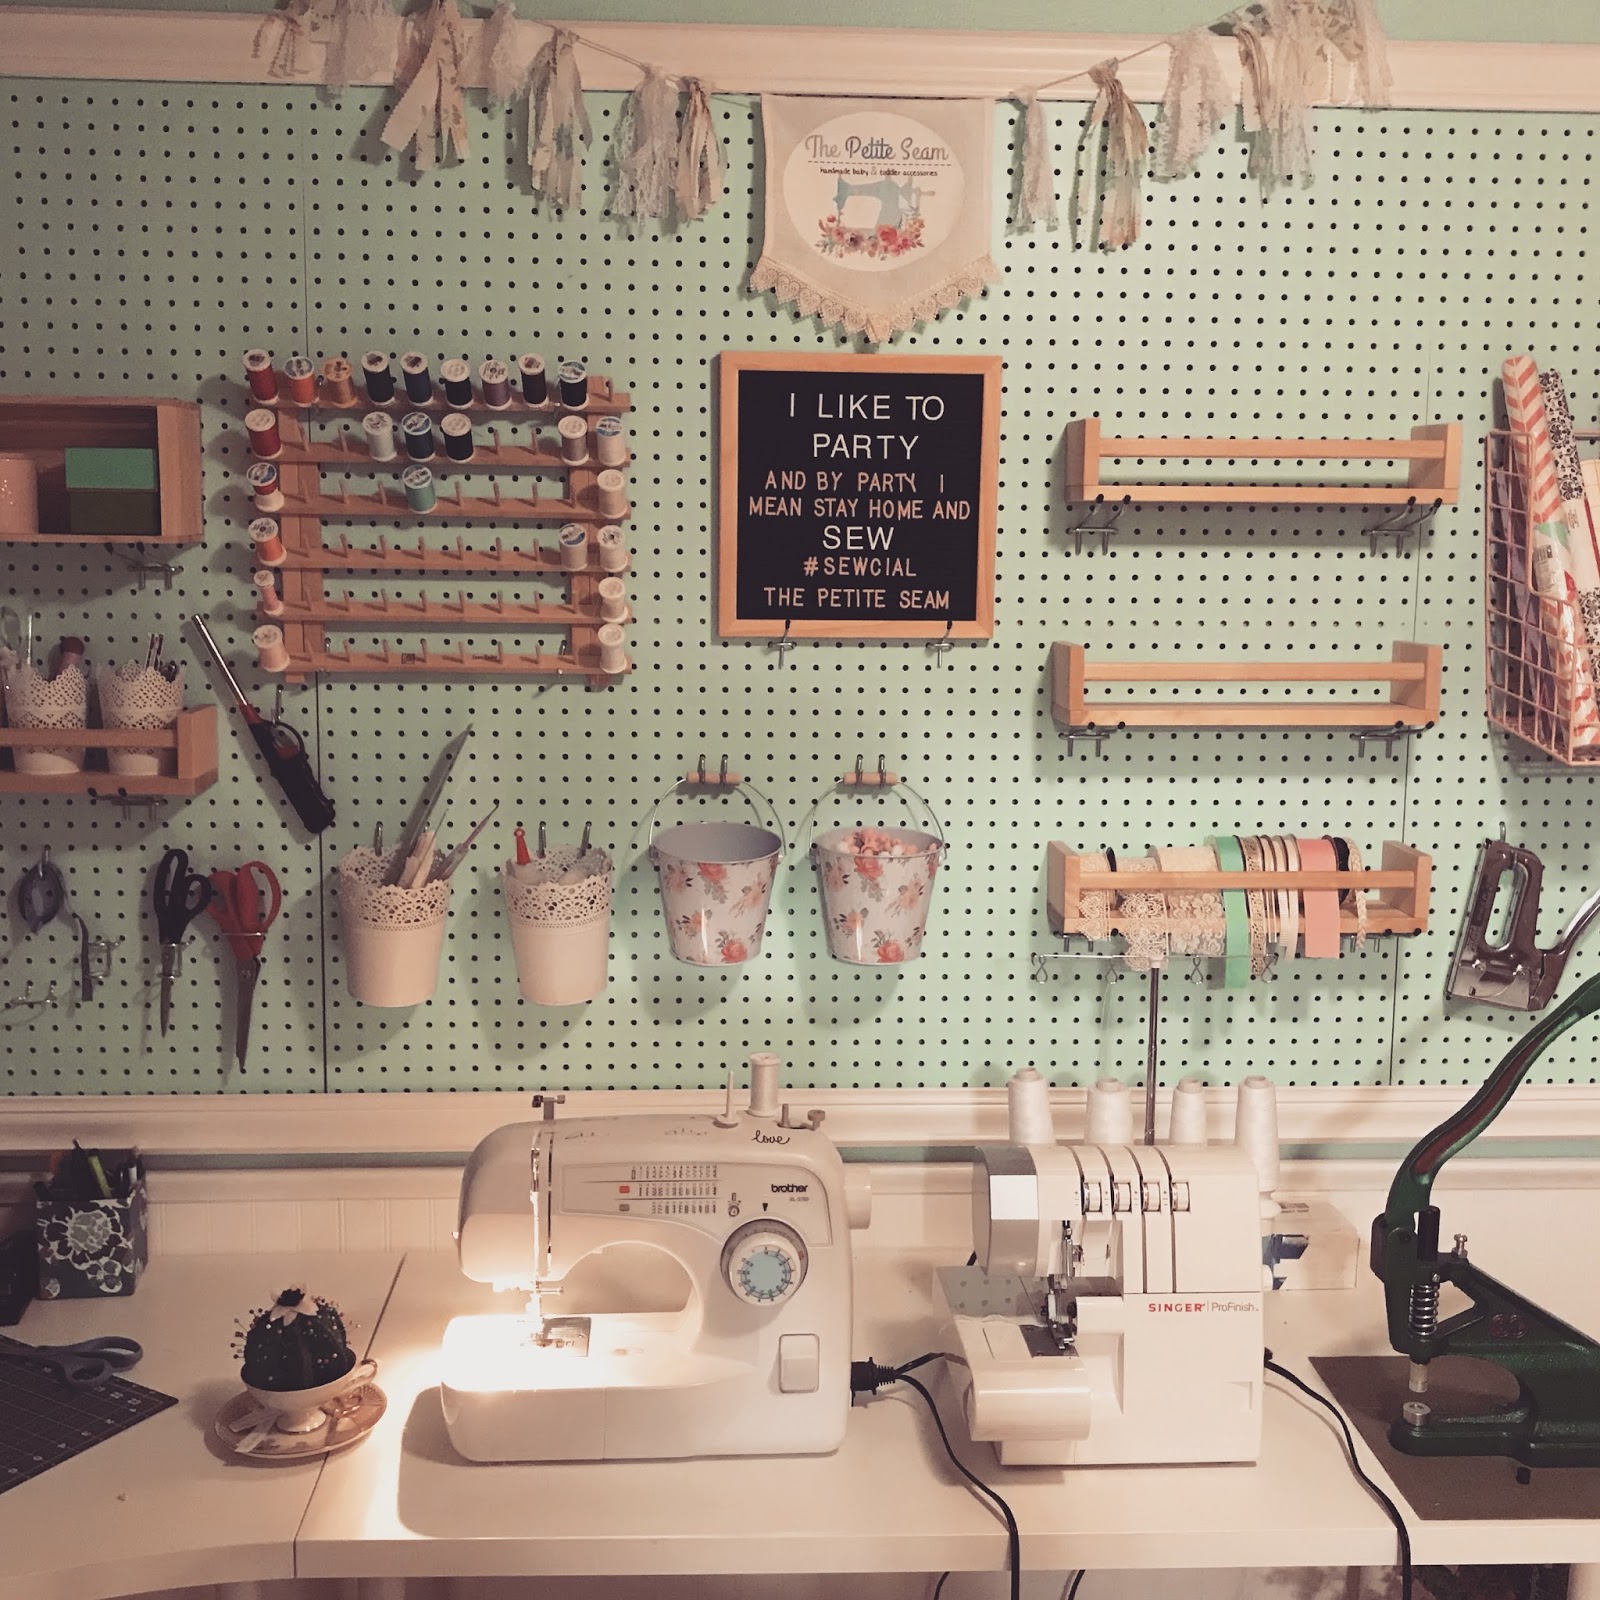
This isn't all that I've been busy with of course.  I have also been working on a couple of more sewing projects related to cloth diapers that I will share in a future post that will also include an update on our cloth diapering experience.  As far as home improvement projects go I've taken my focus downstairs with our family room and my sewing studio getting paint jobs and some other exciting projects in the sewing studio which I will give you a hint at in this picture.
I will give you a tutorial on how to make that cute cactus teacup pincushion that you see next to my sewing machine in my next post!


Monday, February 19, 2018

Valentine's Day 2018


Over the past several years I've had fun making valentines for my older daughter's daycare classmates. 
All of the ideas that I have used have been non-candy ideas because between Halloween and Christmas I feel like kids are just saturated with candy.  You can read about the sock valentines here and the gold fish valentines here.

This year I had two set of valentines to make with two kids in daycare.  I also decided to make a little something for the teachers too. 

I made these cute teether valentines for the baby room at daycare.  I love a good pun when it comes to Valentine's Day if you haven't noticed.  I found these adorable silicone teethers on Amazon.  They come in packs of 5 so I needed two for the 9 babies in Ana's room.  That means that Ana got one too and she loves it.  It is so easy for her to hold and she loves chewing on it. 
They are food grade silicone and can be put in the refrigerator to get them chilled to help with sore gums.  I used my Silhouette Portrait to make, print, and cut the tags that I tied to the teethers. 
The teethers are supposed to be fruit shaped and it says on the package that this one is supposed to be a pineapple.  I don't know about you but to me this looks like an ear of corn ha ha!

For my two year old's classmates I made these play-doh valentines.  I just bought the party pack of play-doh (found in the party aisle at Target).  I made the cards on my Silhouette of course.  The holes ended up being a little small for the play-doh containers so I just snipped around the circle to make the opening a little bigger. 


Finally I made some heart cookies for the teachers and attached this cute card to each box.  I got the boxes from work.  Someone had brought the teachers at my school chocolate covered strawberries from Edible Arrangements and they came in these boxes.  I covered up the Edible Arrangement logo on the front of the box but didn't realize there was one on the inside lid too.  One of Ana's teachers said "I didn't know Edible Arrangements made cookies."  So funny. 

The cookies are chocolate sugar cookies that I made using this recipe from the blog Baking a Moment.  These cookies are fantastic.  They don't spread and you don't have to chill the dough because the recipe calls for chilled butter. I used a scalloped heart cookie cutter to cut them out.  For the frosting I used this recipe from the blog In Katrina's Kitchen.  This was my first time using the recipe and I really like it.  The flavor was good and it was easy to pipe.  I added a couple of drops of red food coloring to get this nice pale pink color which ended up matching my little pink pearl sprinkles perfectly.  I love to bake but I am not the best decorator in the world but this frosting made it easy to make a pretty finished product.

That's all for now.  I've got to get back to sewing now.  I think my next post will be another installment of my Sewing for Baby series as I have been working on a ton of baby related sewing projects lately!
Related Posts Plugin for WordPress, Blogger...