Monday, June 10, 2013

Bird Cage Planter


The weather in North Dakota was perfect for gardening today so I am here with a fun and easy gardening project for you.  I found this idea in a Better Homes and Gardens magazine several years ago and I think it is so cute.  The bird cage adds some interest to the garden that you wouldn't get from a regular hanging basket or planter.

This project is so simple and only requires a few supplies:
 1. A bird cage-I found this one at Joann's a few years go but I have seen them at Hobby Lobby, Gordman's, and thrift stores.
2. Sphagnum moss-I purchased a bag at Home Depot and one bag lasted for almost 3 summers.
3. Potting soil
4. Flowering plants-a cascading plant with small flowers works best
5. A bowl filled with water for soaking the moss


Step 1: Soak the moss in the bowl of water.  This makes it easier to mold and place on the sides of the cage.

Step 2: Place the moss on the bottom and part way up the side of the cage to form a container for the potting soil.


Step 3: Pour potting soil into the moss container.

Step 4: Take the plants out of their containers and break up the root pack so that the roots are no longer molded to the shape of the container.  This works best if they are damp.  Then make a hole in the potting soil for the roots of the plants and place them in the soil.  Then gently pull some of the stems through the bars of the cage.

Don't forget to water the plants so that they are become better acclimated to their new surroundings.  This is the third summer that I have filled this planter.  Here is a look back at the previous years.


I hope you enjoyed this simple summer project!  Here is a peak at some of the porch progress. I am super excited about how it is turning out!

Wednesday, June 5, 2013

A New Coat of Paint for the Porch

It is the beginning of June and here in North Dakota it feels more like April.  I figured that the first post this summer would be about gardening but the weather has not been cooperative.  So instead I am posting on the start of my porch makeover project.  The school year at the school that I teach at ended on May 24th and I jumped on this project as soon as my free time started.  Eventually we will get some nice summery weather here in North Dakota and then I will want the porch to be done so that I can spend the rest of the summer there reading on my Kindle :)  I am excited for my little summer reading retreat to be finished and I am off to a great start.

Here is a reminder of what we started with:

 
Those valences came down right after we moved in.  I have also been itching to pull up that ugly carpet for almost a year now.  So one warm May day I grabbed a corner that was coming up and started to pull.  The carpet was only held down by adhesive so it was a pretty quick and easy task.

Underneath the carpet was a very dirty porch floor that had several layers of paint on it.  Originally the plan was to paint some sort of pattern on the floor but I actually decided to go with one color and then paint an outdoor rug.  Look for that project in a future post.

I was originally going to give the walls and windows a fresh coat of white but I decided to go with a warm off white for the walls instead and I love it.  The color is Behr Clean Linen.

Then, after scrubbing all the dirt off of the windows, I put a fresh coat of Behr Ultra White on the windows.  I don't normally do a lot of taping but I wasn't confident in my ability to not get paint on the glass.

After painting the windows, I scrubbed the floor like crazy.  The adhesive was particularly difficult to remove but my handy paint scraper helped with that.  Then I painted the floor with Behr Porch and Floor Paint in Silver Gray.  I opted for the low luster variety instead of the high gloss.  It took two coats and I did not prime.  

The porch looks awesome now.  It is amazing what a fresh coat of paint can do.  


You can see my tomato and pepper plants in the first picture.  I have been working on hardening them off but the weather had been too rainy and cold to plant them outside yet.

The painting that I have left is the door frame.  I really want it to be white since the wood is so dark that it does not match the door at all.  I will need to prime with a couple of coats first so I am waiting a while on that.

Next up on the to-do list for this porch project is a little Ikea hack for some window seating.  I can't wait to share that project with you guys! 

Saturday, April 20, 2013

Starting Seed Indoors

In hopes that spring is indeed coming to North Dakota eventually, today's post is about gardening.  Oddly enough, on Monday the school that I teach at had a 2 hour late start because of a snow storm on Sunday.  Yes it snows a lot in North Dakota but it is not a usual occurrence to get 10 inches of snow in mid-April.  I know that the Minnesotans are feeling our pain as well since many of my teacher friends in our neighbor state had 2 hour late starts or no school yesterday (the 19th of April!!).  We all have to believe that spring will indeed come and eventually summer as well.  With that in mind, I have started my vegetable plants indoors.

This is the 3rd year that I have done this and it has been quite successful.  My set-up is fairly inexpensive and anyone can do it. I have it set up in my basement.
The supplies necessary are:
  1. A wire shelving unit-the one I have is from Target-wait for a sale and you can get one for around $30
  2. 2 shop lights-about $25-30 a piece
  3. Bulbs for shop lights-you don't need special plant bulbs, I just use regular old fluorescent ones.
  4. A couple of s-hooks-really cheap at any hardware store
  5. 2 jiffy pot kits with plant warmers-They are usually about $35 a piece but I got the second one for $25 because it was on clearance.  The plant warmers are necessary for our cold unfinished basement but you may not need them if you are setting yours up in a heated area.
  6. A power strip for plugging in the lights and warmers


The s-hooks are essential because they allow you to adjust the shop lights.  You want them to be as close to the seedlings as possible without touching them.  For planting the seeds follow the instructions on the jiffy pot units and the seed packets to see how many weeks they need to be planted before moving outside.  I don't turn the lights on until I have a lot of seedlings popping up.  While the seeds are germinating I keep the lids on and then prop them open a little bit once the first seedlings start to appear.  Here is a look at my tomato seedlings.  Notice how low I have the lights.


Once the plants grow too large for the jiffy pots, I transplant them to larger pots.  Here are is a look at the various peppers and tomatoes from 2 years ago


My first year I only had one seed flat and no warmer.  I only grew perennials and herbs that year and the success was not great.  The black-eyed susans were a product of my first year of starting seeds indoors. 


When it is time to plant them outdoors, you need to expose them gradually.  This is called hardening them off.  I start by putting mine on the porch for a few hours, then eventually outside for parts of days.  The biggest adjustments for my little plants in North Dakota is the wind.  My second year I decided to grow tomatoes and peppers and since our rental house had hardly any yard, I decided to grow them in containers.  The first year they did really well and I had so many banana peppers that I ended up canning a banana pepper mustard (we still have 3 or 4 jars left).  Last year I had some problems with end rot on the tomatoes.  They also had to suffer the trauma of having their containers moved since we moved mid-summer last year.

This year I am excited to have a backyard and plan to plant them in a raised vegetable garden.  The peppers will be planted in the containers still.  I also decided to grow squash, green beans, and cucumbers this year.  I cannot wait to get outside and start gardening.  Come on North Dakota, bring me some spring!

Wednesday, April 3, 2013

Watercolor Painting Fabric


Wow, it has been a long time since I posted on this blog!  My entire life has been consumed by studying for my written comprehensive exam.  I was kind of a zombie for a while but little house projects did get completed when my brain couldn't take anymore.  The following picture shows how I have felt the past 6 weeks.

My biggest project lately was one that was started the day after the exam.  I have been having trouble finding fabric for the window treatment in the kitchen so I decided to make my own.  My inspiration was poppies which are some of my favorite flowers.


The supplies I used were Tulip soft fabric paint in several shades for mixing, cups and water, fabric markers, white cotton fabric, and a spray bottle full of water.

 The process was pretty simple.  I mixed the paints until I came up with an orangish reddish color.  Then I sprayed the fabric with the spray bottle so it was damp.  I also mixed a fair amount of water in to the paint.  This allowed the paint to bleed just like watercolor paint on paper.
 I covered the entire length of the fabric with flowers of random sizes.
Once the fabric dried I went in and added details with fabric markers.


Then I took the fabric and went through similar steps that I used in the making of the living room curtains.  I tore apart the roman shade that was originally there so that I could use the wood piece and brackets to mount this fabric.  I used safety pins to create the gathered effect.  I also sewed velcro onto the fabric and glued stapled velcro to the wood piece. 


I think it turned out nicely. Now on to a smattering of small projects that have been my brain restorers over the past month and a half.  First of all I finally got around to painting the door in the kitchen.  Goodbye mauve, hello tangerine cream!
I also purchased some curtain rods that I have had my eye on at my beloved Target for the dining room.  There was some frustration putting up the brackets, however so one window has one bracket only so far.  Plaster walls can be tricky sometimes but I still love old houses.  I am pretty awesome at wall repair though so you can't even tell anything happened and once I buy some more anchors I will attempt to mount the other bracket again.  I'm also excited because the fabric for the dining room curtains arrived yesterday so I can get started on that soon.

This sad little curtain rod wants a home;)
I also hosted Easter dinner for my family and it was a success.  I forgot to take a picture of most of the lovely food but here is the delicious dessert.

Next up, I will be posting about a starting seeds indoors in hopes that spring will soon come to North Dakota! 


Monday, February 25, 2013

Recipe Art + Kitchen Updates and a DIY Fail


So I have a very simple DIY art project for you today.  I wanted to put up some art on this faux brick wall and I wanted it to be personal and fit well with the kitchen.  So I chose some family recipes with some meaning and opened up Microsoft Word.  In word I created a text box and then changed the fill color.  I went with oranges and pinks because those are the colors I will be using to accent the grey in here.  Then I used a bunch of fonts to type up the recipes.  Many of the fonts I used are free downloaded ones that are available all over the internet and Pinterest.   Then I bought 4 simple white frames, trimmed the papers to fit, popped them in the frames, and hung the frames on the wall.  Piece of cake!

The recipes that I chose have a special meaning to me.  Catherine's Cream of Tomato Soup was a recipe from a restaurant that we used to go with my dad's parents.  The owners knew us well and would always come out and talk to us when we came.  This soup is hands down my favorite tomato soup.  The next recipe I chose is my Grandma Charlotte's chocolate cake.  This is the cake that I have had for many family birthdays and it is so good.  I chose Norwegian Meatballs because of all the Norwegian heritage in this part of the country.  The last recipe I chose was Cowboy Caviar.  It is a dip that we have had on New Years Eve for many years and it has black-eyed peas in it which are supposed to bring good luck for the new year.

You may have noticed one of the other kitchen updates already. Yep that faux brick wall is now grey.  Remember this before?
I am so pleased with the way it turned out even though it was a beast to paint with all that texture and all those crevices.  It looks so modern and lovely now.  I also painted the wall with the door and above the window. 


The rest of that "lovely" peachy area is going to covered with the tile from this post.  I also replaced the outlet covers with these guys:
 
They are from Target and they match the white ones that are in the living room, dining room, guest bedroom, and master bedroom.  For some reason Target didn't carry the other type of outlet plates in- store so I have to order those online for the other wall.

Now for the diy fail.  Ok so I use a lot of herbs and spices in my cooking and my current storage of them wasn't working for me.  They were all shoved in a cabinet all willy nilly and I would either go through every spice just to find the one that I needed or I would think I was out of one and go buy another one at the store only to find out that I already had three of that kind.  True story, really, at one time I had 5 containers of ground ginger!  Ridiculous!  So the plan was to make a cool magnetic spice rack so I bought the supplies and pulled all of my spices out of the cabinet.


As you can see I am now down to three containers of ginger.  Well the magnetic spice rack ended up being a bust.  I decided to go with ceramic magnets instead of rare earth because I was worried about the proximity of my microwave to the spice rack.  I glued the magnet on the first jar and tried it out on the sheet metal and it worked so I preceded to glue magnets on the top of the other 23 jars.  Then before mounting the metal sheet on the wall I tested some to see and as soon as a I put a second one on the first one fell off.  Fail.  

It was an easy fix though.  I ordered two wall-mounted spice racks from Amazon and I think they look pretty nice.  The plan is to spray paint them black when it is finally warmer outside, gotta love North Dakota. I also will put some labels on the jars.  I like the look of all the jars instead of those ugly plastic containers. 


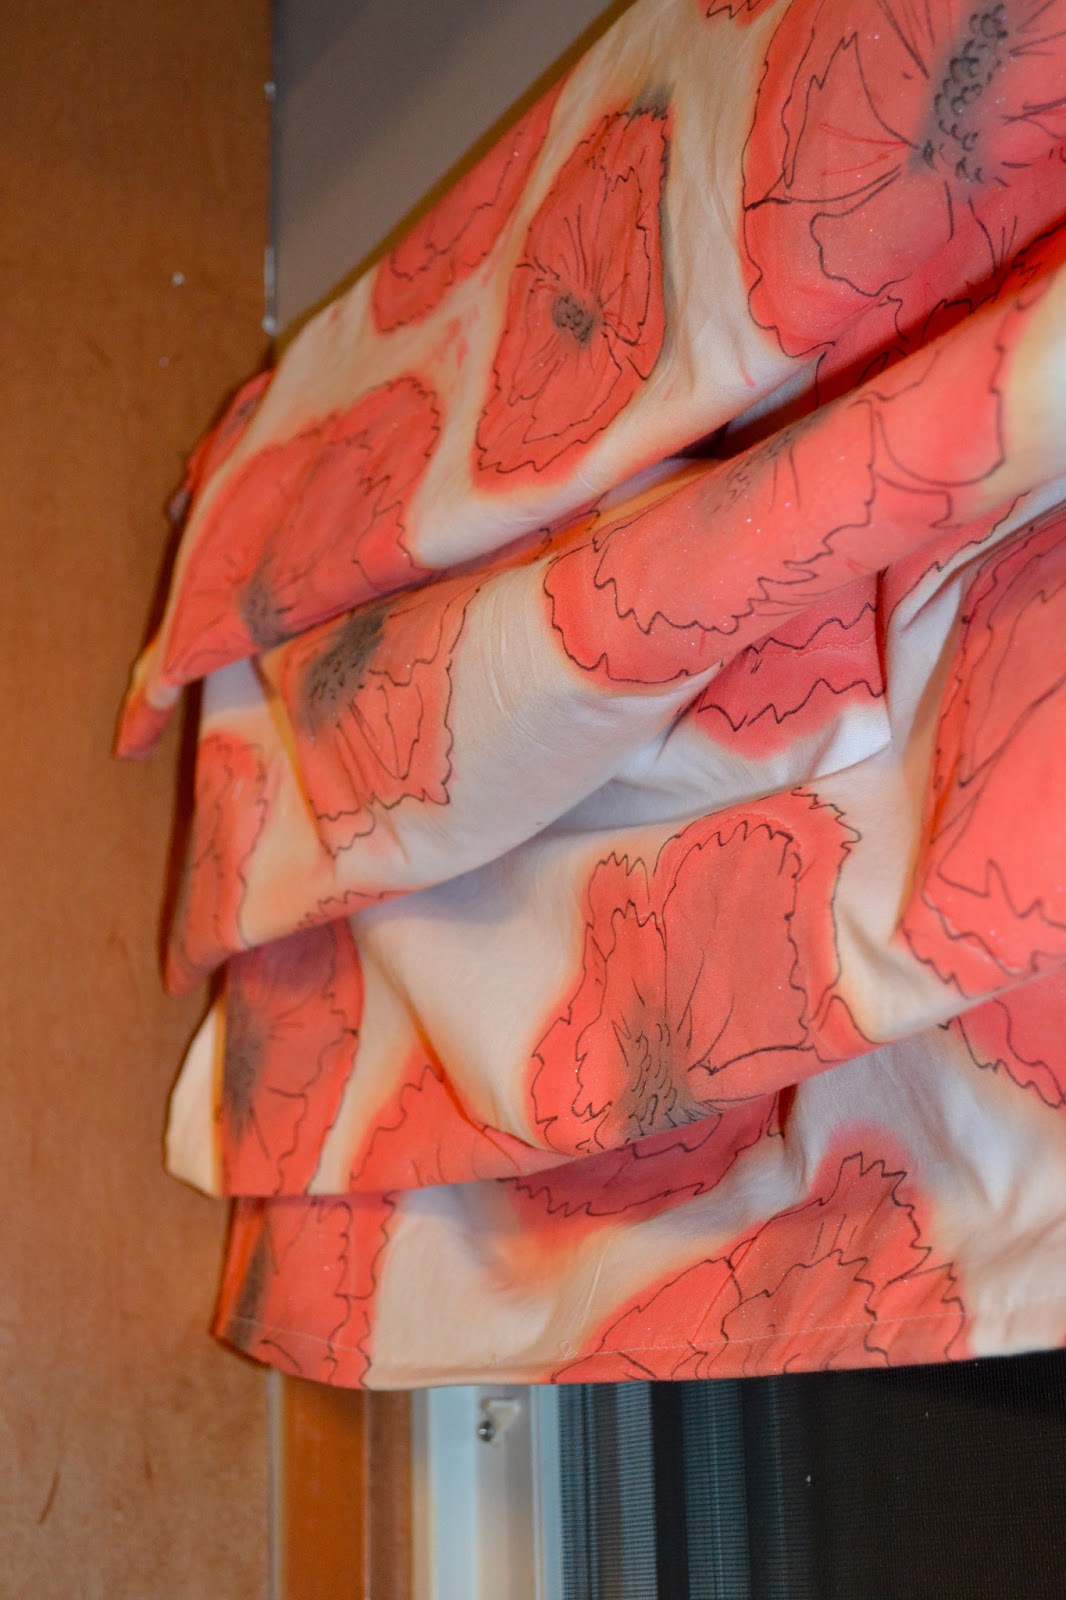
Now the plan is to paint the door.  I have already purchased the paint, Valspar Tangerine Cream.  Then I will be making a faux roman shade for the window and eventually the tiling will get done.  I love how the kitchen is coming together so far!


Sunday, February 10, 2013

Function Over Form: The Bonus Room Transformation


When we were looking for houses we were looking for 3 bedrooms.  We were lucky enough to find the house that we are in now which has a bonus room in addition to the 3 bedrooms.  You could call it a potential 4th bedroom but there is no door to close it off that would make it a bedroom.  When we moved in, the room was a blank slate:
Overall, I don't plan on doing much "decorating" in this room.  I like the wall color because it is a nice subtle neutral and nicer than just plain white walls.  The window treatments were left by the previous owner and I like them for now because they are kind of funky.  The curtain rods are old golf clubs!  When we moved in, this room housed all the boxes that we didn't want to deal with unpacking yet but my husband and I had some big plans for the room.

We are both runners and we knew that someday we would like to own a treadmill.  I have a YMCA membership and John has a work-out facility at his work but training for marathons and half marathons requires hours on the treadmill in the winter and work-out facilities are often crowded in January and February.  Neither of us are brave enough to run outside in the North Dakota winter.  I don't mind the cold (partly because I love my cute cold weather running gear:) but the ice and snow makes me nervous about falling and injuring myself.  It is funny because the treadmill was one of our down-the-line big purchases.  But when we got to thinking about it, it is something that we really wanted and so we took the plunge.

And it was definitely a plunge because runners need a good treadmill and the cost runs high for a quality one.  We do not regret the purchase at all because since we got it in December we have already put at least 100 miles on it.
We also have a very nice exercise bike that John purchased when he lived in his last apartment.  I bought John a bluray player for Christmas and then we used part of John's Christmas bonus to buy a nice HD TV which we wall-mounted.  The bluray player is nice for working out because it has built in wi-fi so we can watch Netflix, listen to Pandora, or stream work-out videos from YouTube.  I can also watch my Pilates and Jillian Michaels videos for my strength and cross training days.

My futon also found a home down here so that we can watch movies and enjoy TV.  It is the only TV in the house that gets PBS so I watch Downton Abbey down here (we don't have cable, only antenna).  It can also double as an extra guest room with the futon.  My futon has a nice mattress with springs in it so it is actually pretty comfortable.

I plan on making some inspirational word art for the walls down here since the room's main function is as an exercise room.  Today we added some medal hangers to the walls so that we can display the medals that we get from races.  We got these medal hangers at the Fargo Marathon expo last year from a local vendor.  They are pretty cute and I can't wait to fill it full of medals.  I will have 3 more by the July as I am running the Get Lucky 7K in Minneapolis next month, the Mickelson Trail Half Marathon in Deadwood South Dakota in the beginning of June, and the Run or Dye 5K in Fargo at the end of June.  No Fargo Marathon events for me this year though because I am bridesmaid in my friend's wedding which is on marathon weekend.

Related Posts Plugin for WordPress, Blogger...