Saturday, November 3, 2012

DIY Lined Curtains

 Over the past two weeks, I have been working on curtains for our living room.  My husband was (mostly jokingly) complaining about the lack of curtains in the living room and dining room.  We ended up getting the previous owners to leave all window treatments for us which was really nice in the case of the blinds in the office and the beautiful Roman shades in the full bath.  Most of the curtains in the house, however, were not my taste and did not go with the new paint colors on the walls.  I do like the curtain rods in the living room so I put those back up after painting.

Anyway, back to making curtains.  I ordered the fabric from fabric.com because I couldn't find anything I liked at the local fabric stores.  I followed this awesome tutorial from House of Hepworths pretty much to a t.  By the way, the fabric that she uses on her curtains is amazing and they sell it at fabric.com as well. 

The cat decided to "help" with the process of making curtains.  Needless to say, he got locked in the basement for most of the time I was working on these.


I began by measuring the length for the panels and added some extra length at the bottom to account for seams and such.  I decided I wanted two panels on each window even though the windows are rather narrow.  I like being able to push them to the side instead of using a tie-back.  There was a lot of prep work involved in the process before the actual sewing happened but it was fun.
There was a lot of ironing.  I broke our ironing board while working on the bookshelf project so I am using an ironing pad on our dining room table.

Add caption

Ironing the lining.  I used cheap twin flat sheets just like in the tutorial.


Pinning the lining underneath

Trimming the excess lining.  I didn't follow the tutorial exactly here.  She pinned the top and opposite side and then sewed those before trimming and pinning the other side.  I trimmed and pinned the other side and then sewed the whole thing all at once.
Finally sewing!
After I finished these steps on all six curtain panels, I hung them and pinned them up to the length I needed them to be.  In the tutorial, she left them up and hand sewed the hem.  I took mine down because I had quite a bit of excess at the bottom and I am not the greatest hand sewer.  I trimmed a bunch of excess from the bottom then sewed the hems on the sewing machine.

They turned out great and I am so thankful that there are so many great tutorials like this one out there.


Now I am eager to find some fabric for the dining room curtains.  But I also need to find rods for the dining room because Roman shades were the previous window treatment.


Friday, October 19, 2012

Planning, Paint Swatches and Practicum

Okay, so Obama really has nothing to do with today's post but bobble Obama oversees everything that goes on at my desk so I thought I'd throw him up here.  Speaking of politics, sometimes I don't want to watch t.v. this time of year because of all the annoying political ads.  Here in North Dakota the big t.v. ad war is between the senatorial candidates Rick Berg and Heidi Heitkamp.  Now I even see the ads when I watch t.v. online on Hulu.   Annoying!

Anyway, back to houscapades (yes I just made up a word, it is my blog so I can do that:).  Really there isn't much to say about it.  Partly because of the school year starting up and getting back into the swing of things and partly because of our awesome trip to Graz, Austria and Rome, Italy in September.

The famous clock tower on top of the mountain fortress in Graz, Austria
Colosseum

Colosseum


Spanish Steps

Trevi Fountain
The trip was amazing and I am looking forward to making some wrapped canvas like wall art for the living room and dining room with some of the photos that I took.  By the way, the camera purse from the previous post worked awesomely on the trip.  It kept my camera nice and safe.


The other thing that has been eating up all my time is my final project/paper for my masters degree in elementary music education.  I will be so glad when I am done with my masters. The culminating piece of this particular degree is called a practicum and from what I have surmised it is basically a thesis but with a practical element that is usable in your classroom immediately. If you don't care about the specifics of my practicum just skip to the next paragraph;).  My topic is to create a curriculum for beginning band based on the Kodaly Method.  The Kodaly Method is a method for teaching elementary music that is used in many schools throughout the world.  Part of my masters course work included the completion of a program that led to my certification as a Kodaly instructor.  This has been a lot of work because I have been writing and simultaneously implementing the curriculum with my current 5th grade band students.  I am really enjoying the project but the paper will take quite some time to write.  That is why I am taking two semesters to complete it.  I also have to start studying for my oral and written comprehensive exams which I have to take this spring, joy.  I will be a very proud person when I walk across the stage in my half hood this May!

Now there has been a little house work going on in the meantime.  I just ordered some fabric so that I can make curtains for the living room.  I also selected a paint color (Behr Sparrow) for the upstairs guest bedroom and plan to paint that room either over Thanksgiving or Christmas break.  I have also finally selected a paint color for the master bedroom.  At first I had no idea what I wanted.  Then I found an inspiration photo on Pinterest that I loved and after a few months of trying to find a similar color I discovered that a local home and hardware store carried the brand and shade from the picture so I am quite excited about that.  It was good I found it, because I was pretty frustrated after the last color I thought would be the one ended up looking like a kidney on the wall.

Here is what our bedroom has looked like for quite a few months now.  The swatches on the left were added recently.
Ding, ding, ding Ralph Lauren Washboard is the winner!  

I am hoping that I can get this bedroom painted over Christmas break, but we'll see what happens.

Saturday, September 1, 2012

Camera Purse


One of my birthday gifts was a sewing machine from my parents.  My mom has passed down many of her talents to me including creativity and cooking but one thing that never seemed to take was sewing.  My mom is an amazing seamstress.  She made all of my Halloween costumes when I was younger and she even sewed the beautiful bridesmaid dresses for my wedding as seen here:
This lovely photo was taken by Frozen Music Studios Photography
My mom tried to teach me how to sew when I was younger and I even took a sewing class in 9th grade but I just never seemed to pick it up.  But now, I want to try again since I can make many things for the house like pillows and curtains.  

My first project on my new sewing machine was to create a way to carry my camera around that didn't involve one of those ugly camera cases.  So using this tutorial, I made a padded insert for a cute purse that I found at Maurices. 


The insert isn't perfect.  I made a lot of mistakes but I am still really proud of how my first sewing project turned out.  I love how a functional camera case is hidden inside a stylish purse.  It even has removable dividers that can be used for extra lenses and other accessories when I actually own some.  I can't wait to carry it around in Europe in a couple of weeks!


Monday, July 30, 2012

It's Been Awhile...

I haven't posted in awhile but it isn't for lack of projects.  A couple of weeks ago was my birthday and here is one of the new toys that I got:
Isn't she a beauty!  She's a Nikon d3100.  The only downfall was she didn't come with a cord so that I could upload photos to my computer so I had to buy a sd card reader.  I finally got around to it today so I am excited to finally post again.  I have some new photos for the living room and dining room and living room.  We'll say that these two rooms are done...for now:).

Here is the living room before:

Pretty dark and drab, right?  So here is what it looks like now:

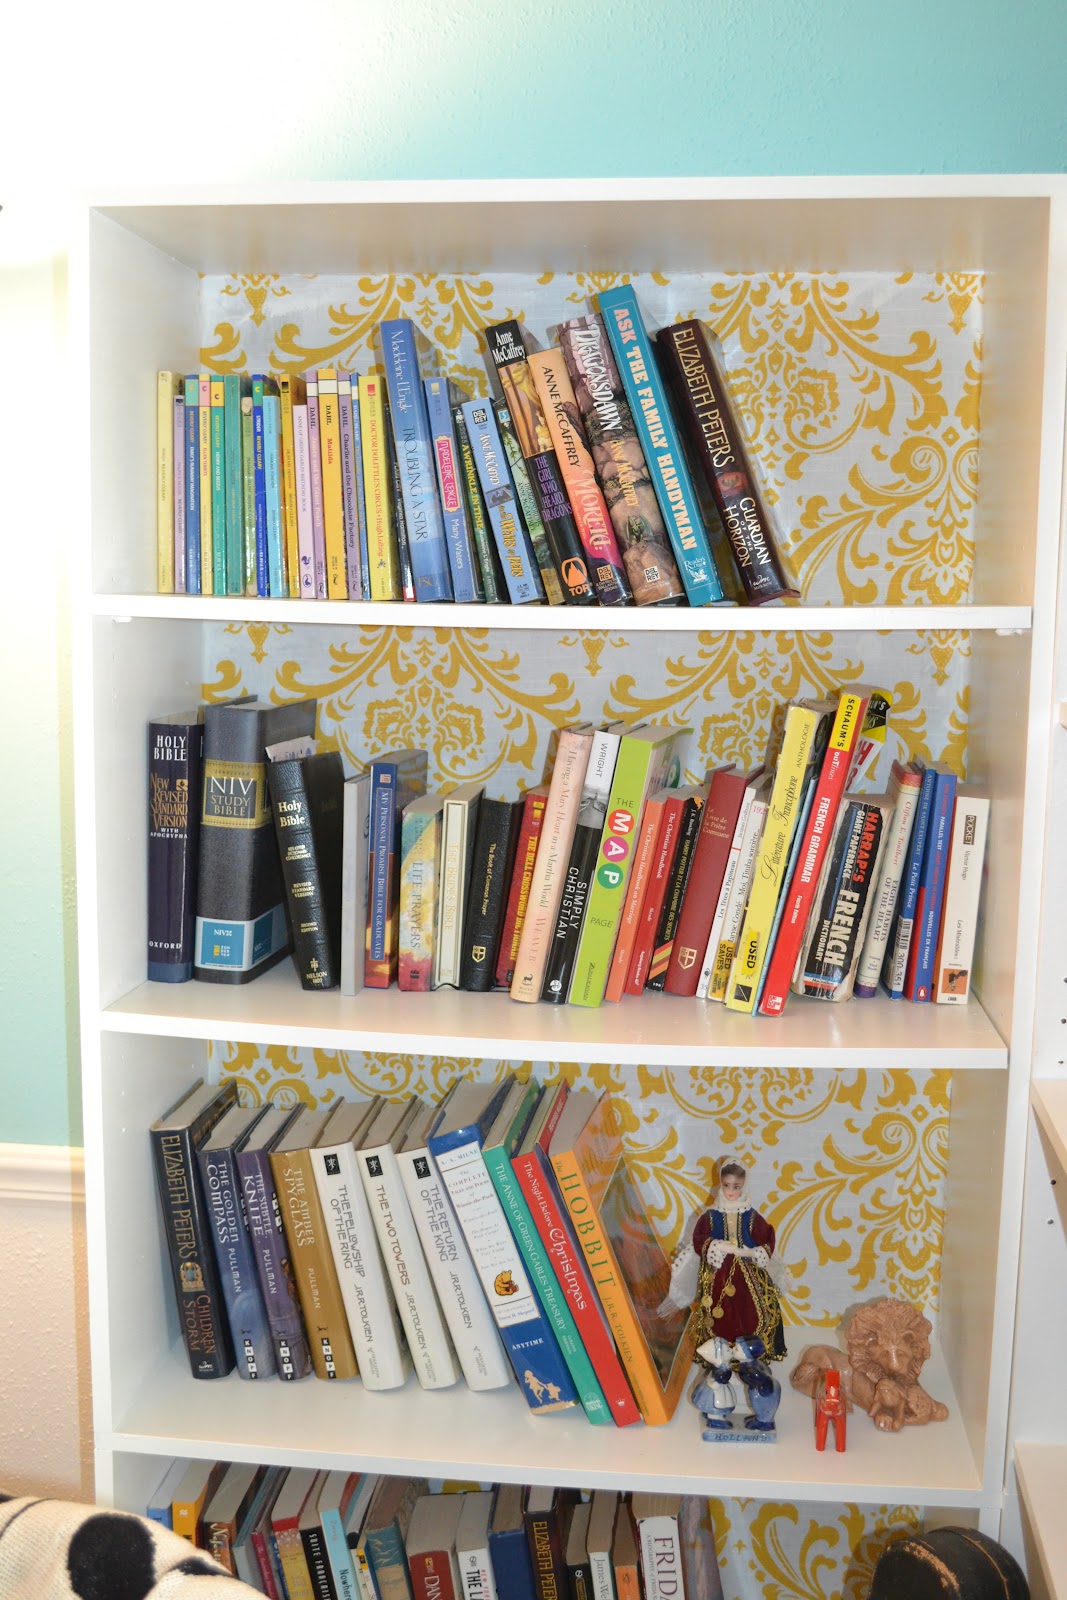
 Remember this bookcase project?


Now here is the before of the dining room:


There were so many crazy colors going on!  Now here are the afters:

 New hardware makes the built-in look pretty schnazzy:)


There are still a lot of things that I want to do in these two rooms but I am pleased with the way they are looking so far.

Alright, now on to a little organization project.  This project was inspired by a couple of different things that I saw on Pinterest.  I have become an accessory junkie.  I love jewelry, belts, and scarves.  Awhile back I completed this project to display and store all my pretty earrings:

Now I wanted a way to store my scarves and large necklaces and I have seen two different pins using towel bars and shower curtain rings/hooks to hang them.  I decided to combine the two pins by purchasing an over the door towel rack for 10 dollars from Bed Bath and (Way) Beyond and some shower rings and hooks from Target.  And here is how it turned out:


I am definitely happy with how it turned out!

Saturday, July 7, 2012

Wall Stencil Fun


This stenciling project in the dining room has been time consuming and tiring.  With that said, I love the way it turned out.  And it was really easy, just a slow process.  

Here is the stencil in action:
 I started by painting the entire room with the base paint which was Valspar City Storm in flat sheen.  I taped the stencil up on the wall with painters tape.  The stencil is moorish trellis made by Royal Design Studios.  I used Valspar City Storm in semi-gloss sheen for the stencil.  I applied the paint to the stencil with a foam brush.  I like the subtle look of the stencil with this tone on tone technique.  The pattern disappears and reappears according to where you are in the room and where the light is. 

Wednesday, June 27, 2012

Progress


This is a picture of the dining room progress (with a little peek at the living room progress).
I love how the grey works so well with the blue.  Oh, and that chair rail has been a beast to put up.  My husband has been a real trooper for figuring out how to cut and put up that darn thing.
We have been working non-stop on the living room and dining room before we move in.  I am a little stressed because I feel like it won't get done in time.  Yesterday I was wondering if all this work was worth it but today I painted the grey on the dining room walls and I love it so much!

I will leave you with one more picture.  This one is of our cat who seems to be the only one in the house who loves packing.  He likes to jump in the boxes, sit on the boxes, sniff the boxes, and jump off of the boxes so that the force from his hind legs sends the smaller, lighter ones flying across the room.

Sunday, June 24, 2012

It's Finally Ours!


We are homeowners!  On Friday we had our closing and it went smoothly except that I left my driver's license at home and had to go back and get it.  As soon as our closing was done, we went to the house and took measurements of the living room so that we would know how much chair rail to buy.   Then we were off to Lowes to purchase supplies to paint the living room and dining room.

After a full day yesterday, the living room already looks completely different.  I can't wait until we are all done so that I can post pictures.  I am in love with the blue paint that we chose for the living room.  It is beautiful.  We have not been nearly as successful with the chair rail but we did cut 6 of 11 pieces last night (well, my husband cut them).  We did have some unsuccessful cuts and we will definitely be needing more chair rail!  Oh well, diy is a learning process.

I have updated house tour page with all the before photos of the house.  Be sure to click on the house tour tab to check it out!
Related Posts Plugin for WordPress, Blogger...